Imagine how amazing it is to talk to and see who is at your doorstep or open the door without the need of getting there by yourself. Isn’t it amazing? This astounding ability is brought about by Ring Video Doorbell which notifies you through your smartphone or any other electronic device when somebody gets at your door entrance. Equipped with a built-in high-definition camera and microphone, you are able to watch and talk with the person at your doorstep.
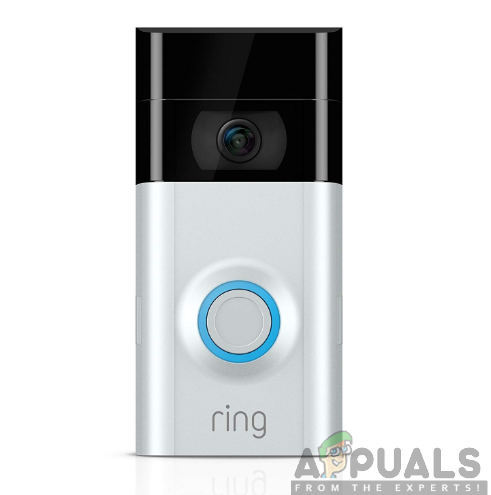
An interesting thing about Ring Video Doorbell is that it does not need to be wired to your existing system. This is because it can operate independently and wirelessly with the help of its battery-powered feature. However, you can still connect it to your existing wired system just like other smart doorbells.
To beef up security, the smart doorbell is designed to make your home a bit more secure. The high-definition camera in it allows you to have a clear look at who approaches your door hence giving you the choice of whether to interact with the person or not. This is much more secure than the use of a tiny hole located at your door.
Setting up and Installing Ring Video Doorbell
To get started with your Ring Video doorbell, you need to ensure it undergoes a good set up process and proper installation. This step is easy and straight forward, hence, won’t take most of your time while setting it up.
This setup process is not only for Ring Video Doorbell but also Ring Video Doorbell 2 and Ring Video Doorbell Pro as well. Therefore, if you possess any of the three be sure to follow each step carefully in order to achieve a successful setup and installation process.
To set up and install the Ring Video Doorbell, you will have to consider following the steps outlined below to the latter:
Step 1: Charge the Ring Video Doorbell
Ensure that your Ring Video Doorbell is charged up before getting started with the setup and installation process. If you already had your smart doorbell hardwired, you will still need to mount its rechargeable battery as a backup.
You can charge the removable battery by simply connecting it to the available power source. The battery will be fully charged when the red status light disappears.
Step 2: Download the Ring Video Doorbell app on your phone
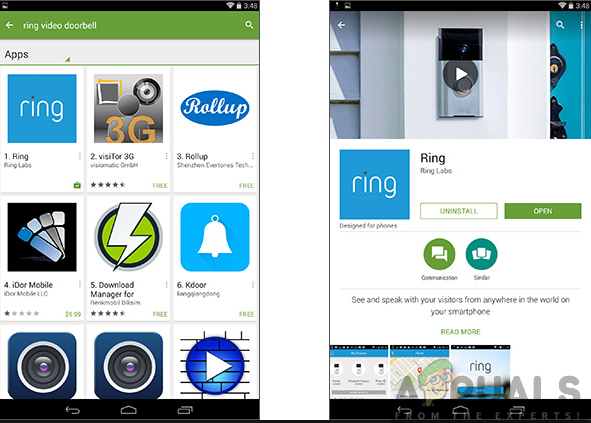
To receive the alerts and talk to the person at the doorstep through a live video screen, you will need the Ring Video app in your smartphone. You, therefore, have to download and install it on your phone. The app is available for both Android in the Google Play Store and iOS devices in the App Store.
For Android users, you will need to follow these steps:
- Go to Google Play Store on your phone.
- Search for Ring Video Doorbell.
- Click on Install.
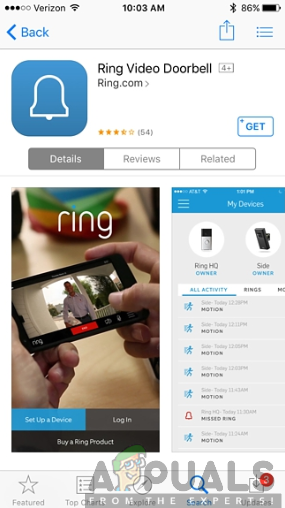
Moreover, for iOS users, you will have to follow the steps outlined below:
- Go to App Store on your iPhone.
- Search for Ring Video Doorbell.
- Tap on GET.
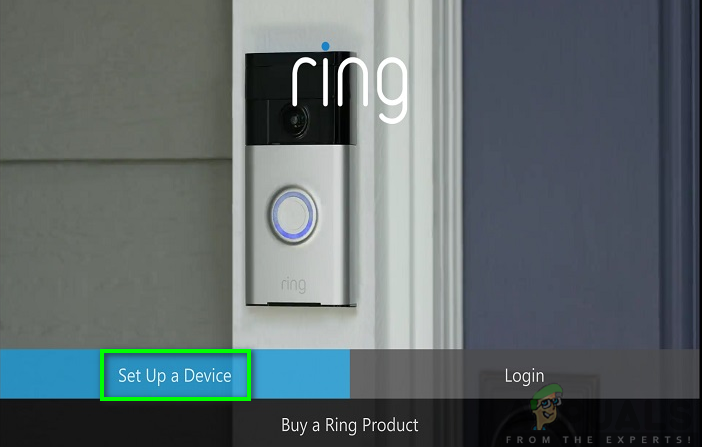
Step 3: Set up a Device
After you have downloaded the Ring Video Doorbell, you now have to launch it and start the set-up process. Once you open the app, click on Set Up a Device.
Step 4: Create a Ring Account
You will then be prompted to create a Ring Account by entering your first name and last name. Enter the right information and click on continue.
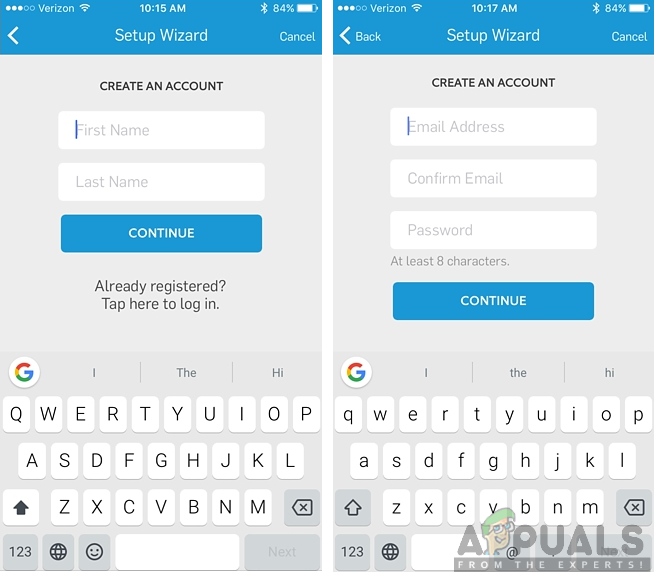
Another window will appear prompting you to enter your email address and create a password for your account. Enter a working email address and a password you can easily remember and hit on Continue.
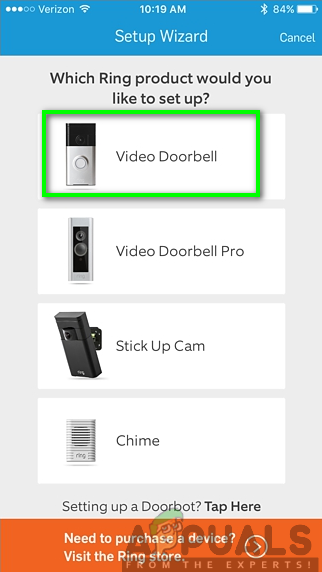
Step 5: Select the Ring Video Doorbell from the list of Devices
Next, you will have to select the Ring device that you are setting up from the list of devices displayed on the Setup Wizard screen. In this case, we are setting up Ring Video Doorbell, therefore, we will be selecting Video Doorbell.
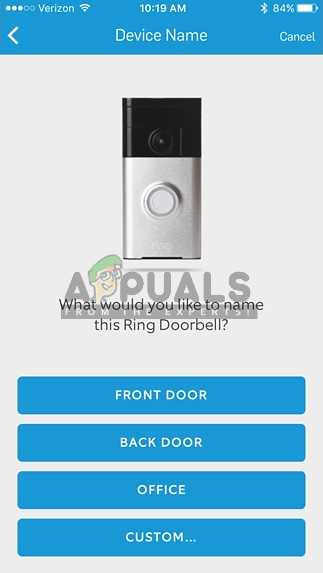
Step 6: Give your Ring Video Doorbell a Name
You will then have to give your Rong device a name of your choice. You may select one of the pre-made names or you can as well type your preferred name by clicking on Custom at the bottom of the screen.
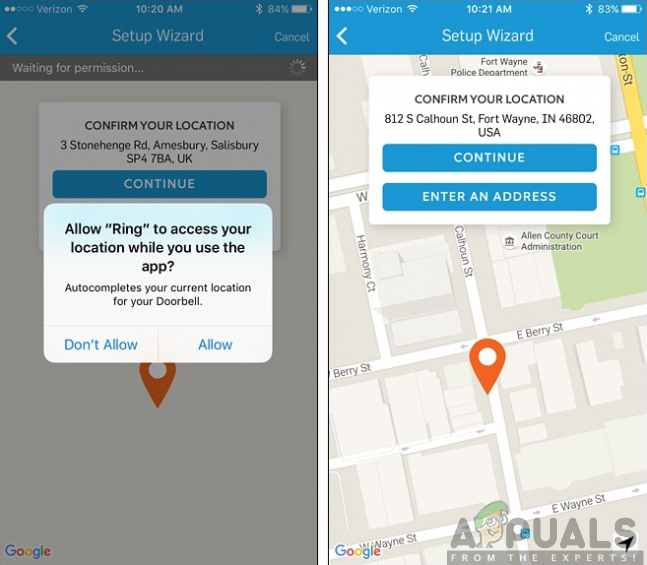
Step 7: Allow Ring Access to your Location
After giving your Ring Video Doorbell a name, you will have to allow it to access your location. This is necessary as it will be able to get the accurate timestamp for the videos it captures every time motion is detected or the doorbell is rung. After allowing it, choose your current location and tap on continue.
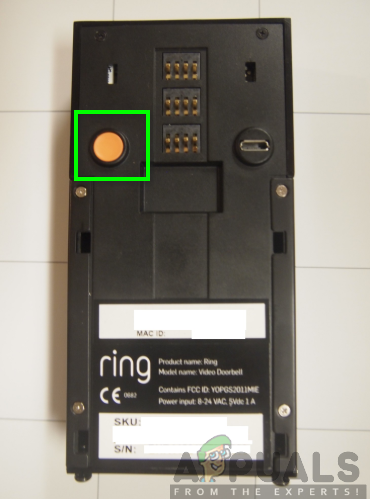
Step 8: Press the Orange Button on your Ring Doorbell
You will then need to go to your Ring Video Doorbell and press the orange button and then tap continue in the Ring app on your phone. This will link the Ring Doorbell with the Ring app. You will notice the light around the doorbell will begin to spin.
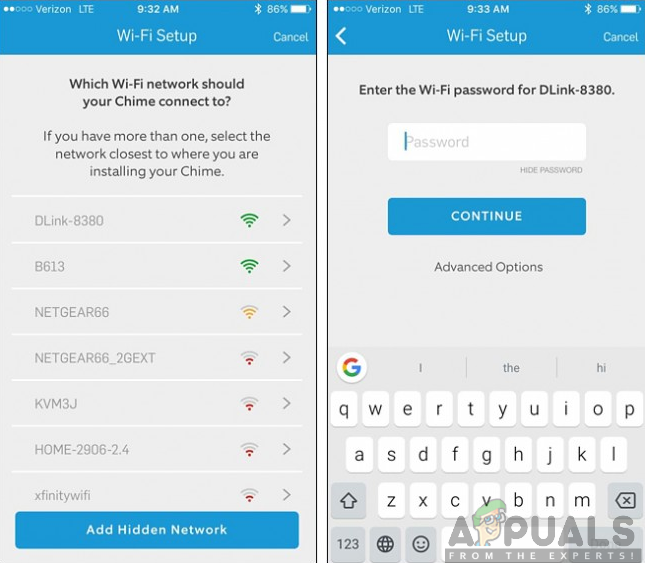
Step 9: Connect your Ring Video Doorbell to your home Wi-Fi
You will then have to connect your Ring Doorbell to your home Wi-Fi network. Select your home Wi-Fi network from the list and enter the right password then click on continue. This will take a few seconds for the Ring Doorbell to connect to your home Wi-Fi network.
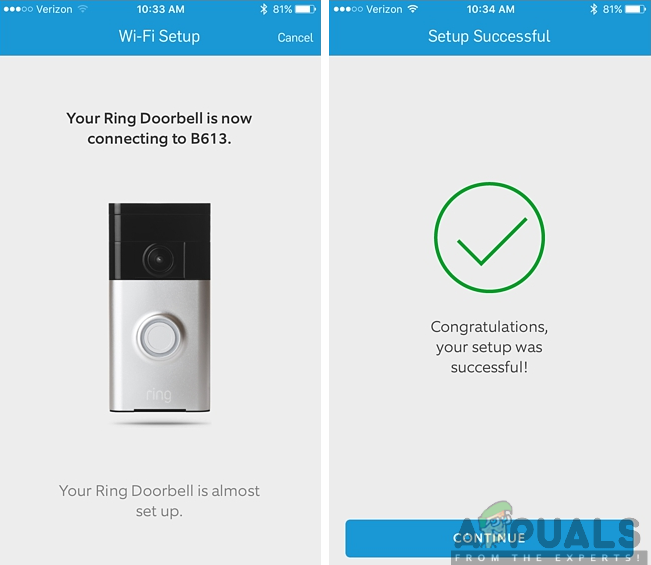
Step 10: Complete the setup process
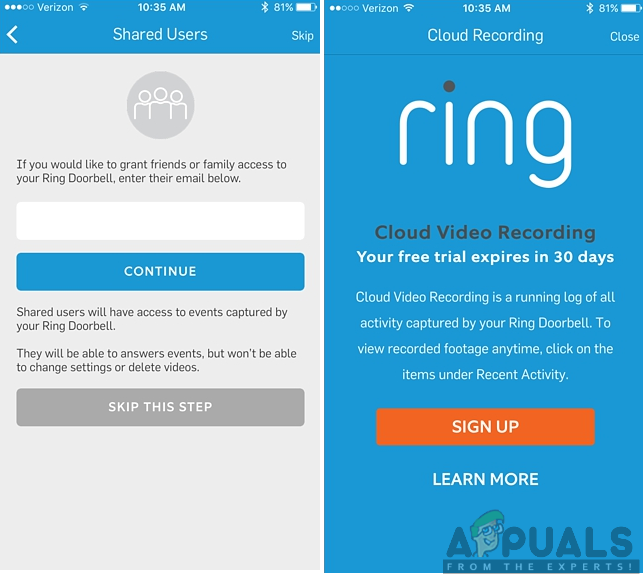
After getting the notification that your setup was successful, click on Continue and proceed to the next screen. This screen allows you to add other members and share access with them by entering their email address to send them an invite to join.
However, if you are not interested, you can skip this step and proceed to the final screen which you can either tap on Learn more at the bottom of the screen to get more information or you can click on Close at the top-right corner of the screen.
Step 11: Install the Ring Video Doorbell
Now that you are done with the setting up process, you now have to mount your Ring Video Doorbell next to your door on the outside. If you do not require any wiring, then this process is quick and easy. You will need to follow the steps below to achieve the installation process:
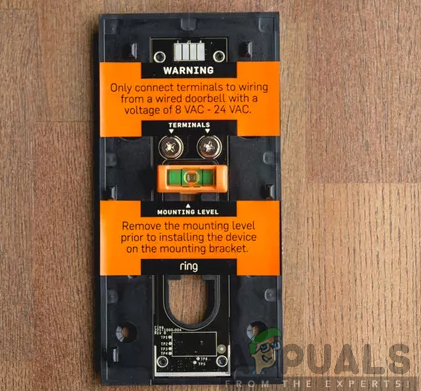
- First, remove the orange stickers covering the mounting plate as shown.
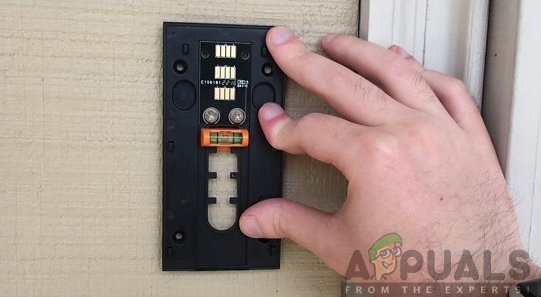
- Hold the mounting plate against the wall and make it level using the leveler on it.
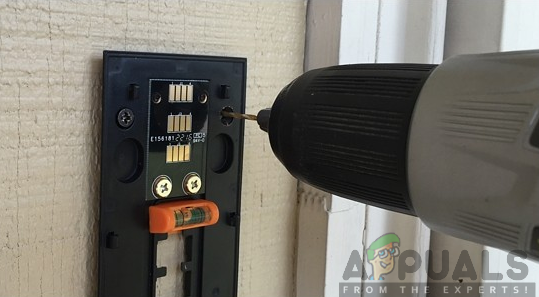
- Carefully drill four pilot holes where the screws will go by the use of a power drill. Ensure you hold the mounting plate steadily while performing this action.
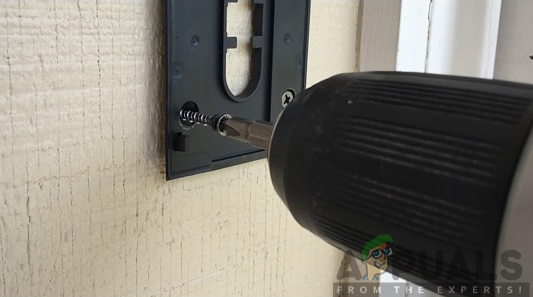
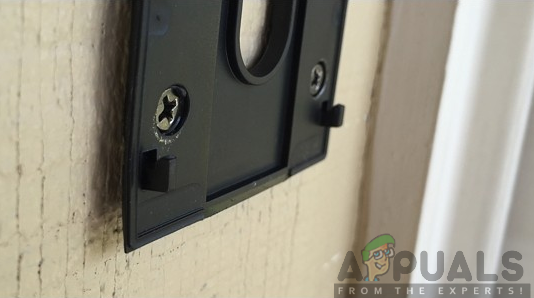
- Now attach the plate to the wall using the provided screws as shown below. Ensure you remove the orange leveler at this point.
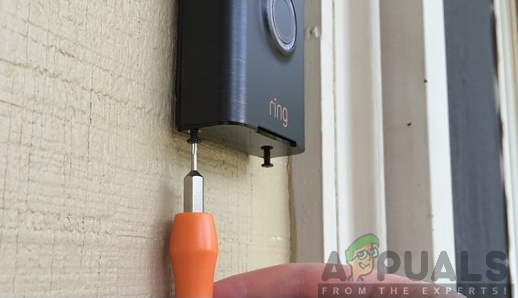
- Attach the Ring to the baseplate. You should consider loosening the two security screws at the bottom of the Ring doorbell and then slide doorbell over the baseplate until it latches.
- Next, use the screwdriver and drive in the two security screws on the bottom of the Ring device. This prevents people from just taking off the Ring Doorbell.
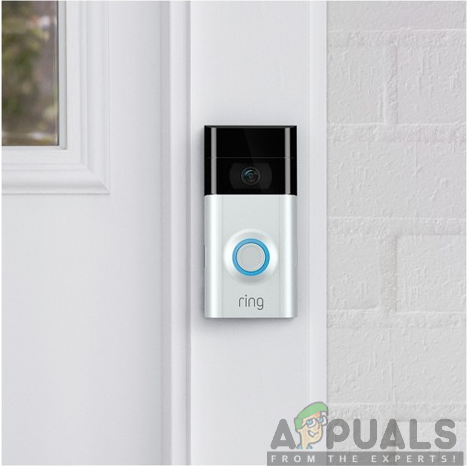
- You are now all set up and you can start using your Ring Video Doorbell with ease. You can also use Ring app to adjust some settings like turning alerts on and off.
Alternatively, you can install the Ring Video Doorbell by taking the wiring from your traditional doorbell and hooking it up to the ring so that your existing doorbell chime will sound whenever the button is pressed. All in all, your Ring device is all set up and installed, hence ready to use.