If you’re having problems with Geforce Experience after updating the app or installing a fresh copy from Nvidia’s website, just know that you’re not alone. I also had this problem after re-installing Geforce Experience in Windows 10.
As it turns out, a lot of Nvidia owners have reported this problem, particularly after being prompted to install a new driver version with Geforce Experience. The symptom of this issue is the Geforce Experience window showing a completely black screen. Some users have reported that in-game FPS using ShadowPlay has stopped working after encountering this bug.
Note: You might also encounter a similar black screen while using browsing apps such as Chrome or File Explorer. If that’s the case, you have even more reasons to follow the guidelines below and eliminate the issue.
From my investigations, it appears that the latest version of the Intel Graphics Driver is conflicting with Geforce experience and produces this error. Below I’ll show you what fix eliminated the black screen in my situation. I’ve also included a few other suggestions that other users have been reporting as being effective.
In the methods that follow, we are going to take you through a complete troubleshooting guide that will make the black screen go away. Make sure you follow each method in order until you find a fix that works for you.
Method 1: Running Geforce Experience with Integrated Graphics
This following fix worked for me, so I’m going to feature it first. I’m not exactly sure why, but opening the application using the integrated graphics once, and then updating the Nvidia driver through Geforce Experience removed the black screen indefinitely. Here’s a quick guide to doing this:
Note: Use this method only if you’re sure that the black screen bug is not happening outside GeForce Experience. If other apps are affected, it’s highly recommended that you follow Method 2.
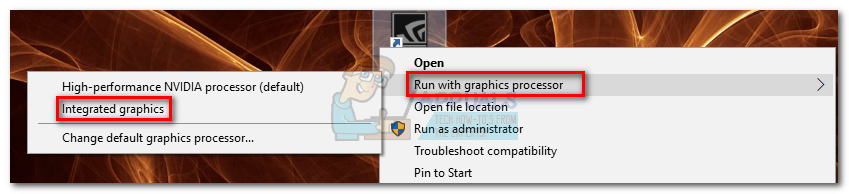
- On your desktop, right-click on Geforce Experience. Hover over Run with graphics processor and click on Integrated graphics.
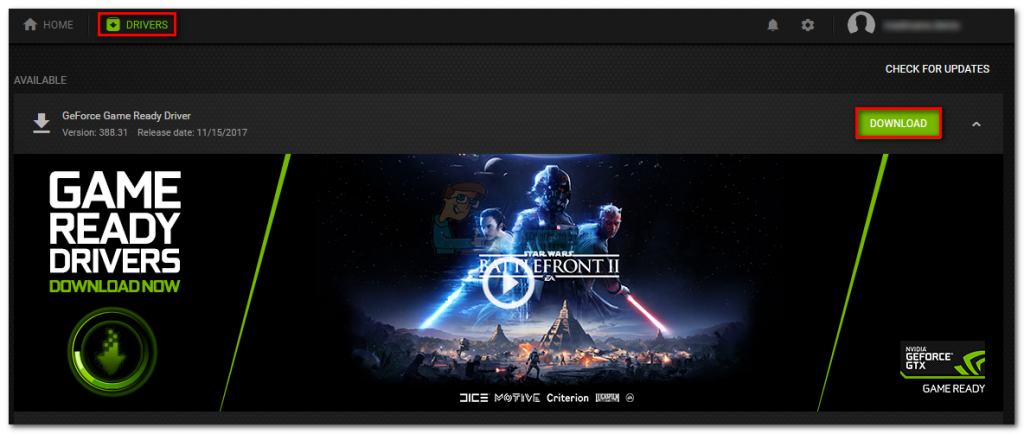
- If Geforce Experience launched without displaying a black screen, click the Driver tab, then the Download button to update your dedicated driver through Geforce Experience.
 Note: If you’re still seeing a black screen, move straight to Method 2.
 - Restart your computer, then try to open Geforce Experience normally by double-clicking. At this point, the issue was resolved on my computer. But if you’re still experiencing the black screen bug, follow through with the next steps.
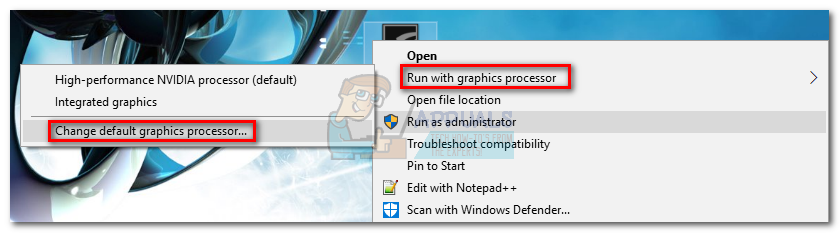
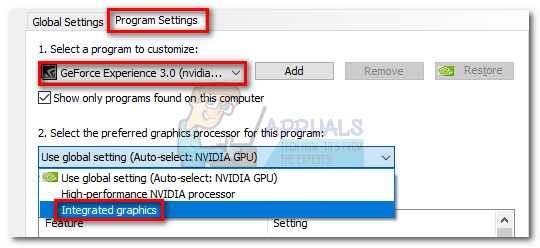
- Right-click on Geforce Experience icon, hover over Run with graphics processor and click on Change default graphics processor.
- Under Program Settings, make sure GeForce Experience is selected from the program list. Then, click the drop-down menu below and instead of Use global settings set it to Integrated graphics. Hit Apply to confirm your selection.
That’s it. If the black screen was only restricted to GeForce Experience, this will fix your issue indefinitely. Running GeForce Experience with integrated graphics won’t affect your PC’s in-game performance. If anything, it will spare your dedicated graphics card from having to process additional information.
But as I’ve said before, this is only effective if you’re experiencing the black screen bug exclusively in GeForce Experience. If other programs are also affected, follow Method 2.
Method 2: Rolling back the Integrated Graphics Driver
If the black screen bug happens in other programs such as Chrome, Office 365 or File Explorer, it’s probably a conflict between the dedicated graphics driver and the integrated one. A lot of users have reported that rolling back the graphics driver to a previous version managed to fix the issue permanently. Here’s what you need to do:
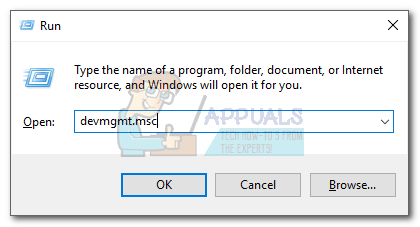
- Press the Windows key + R to open a Run command. Type “devmgmt.msc“and hit Enter to open Device Manager.
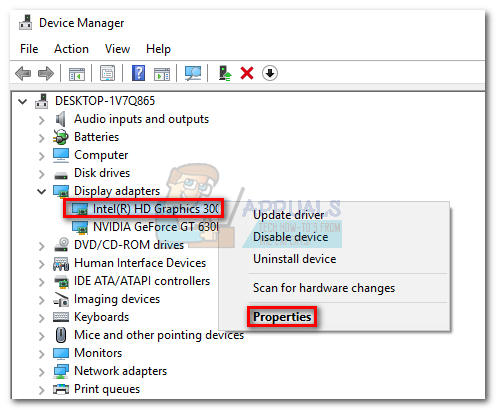
- Under Display adapters, right click on your integrated graphics card and select Properties.
- Select the Driver tab, then click on Roll Back Driver.
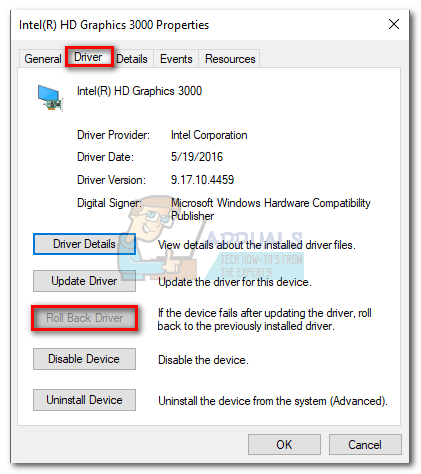 Note: If you successfully rolled back the integrated graphics driver, your issue should now be fixed. If not, follow through with the next steps.
 - If the Roll Back Driver button is greyed out, click Uninstall Device and remove the integrated driver completely.
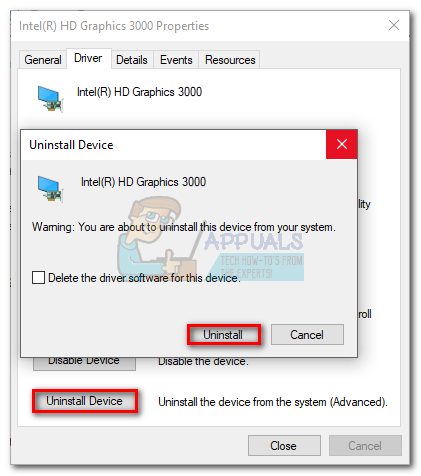
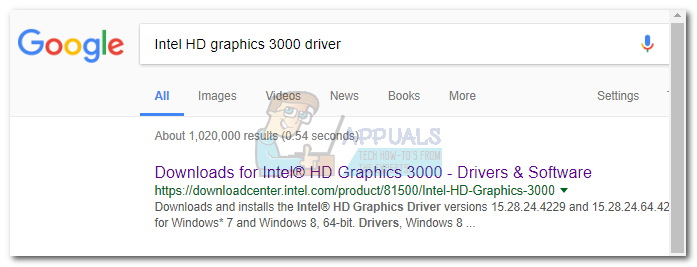
- Do an online search and download the latest version for your integrated graphics card. There’s a high chance you have an Intel integrated card, so make sure you download the driver from their official website.
- Install the driver on your system and do a restart at the end of it.
- Open Nvidia Experience. The black screen bug should be eliminated.