The impact of virtualization in the process of networking is significant and cannot be overlooked. Many organizations are now going for virtual machines/network virtualization and establishing a full virtual IT environment rather than physical servers. This is being preferred because it comes at a minimum operation cost and does not affect the operational efficiency of a network in any way. Hence, it is a win win situation. Instead of having multiple physical infrastructures for servers or storage purposes, you can just have a virtual environment that lets you do both with greater efficiency. There’s one thing, however, that is often overlooked or not considered significant by various organizations, virtualization management. If you wish to get the most out of your virtual environment, having a virtualization management system in place and maintenance of virtual servers becomes key and of colossal importance. Virtual machine software like VMware, Citrix etc. come with management tools that can be used to handle your virtual servers. However, these tools are nowhere close to the functionalities that are offered in a third-party Virtual Machine Manager.
Solarwinds Virtualization Manager is a tool developed keeping in mind the importance of virtualization management and its role in having a fully functional virtual environment. Every IT administrator out there has used a product developed by Solarwinds at some time during their career. This is because Solarwinds has proven its reliability in the IT management department and thus their products are always top of the notch. Virtualization Monitoring or VM monitoring is important as it gives you a better understanding of your virtual environment and helps in rectifying performance issues that could otherwise have been fatal.
Downloading the Virtualization Manager
Solarwinds VMAN (download here) enables you to monitor the live performance of your virtual instances in real time and provides actionable data and additional details regarding the instances. With the help of VMAN, you can ensure faster problem identification as it offers in-depth visibility across various virtual environments and their configuration information including VMware and Hyper-V. Along with VM configuration tools, you can also manage CPU, virtual networks and memory resource allocation via Virtualization Manager and that’s something we will be covering in this guide as well.
Before you can start off with this article, you will have to install the tool in your network. Therefore, go ahead and download the tool from the link provided above. Solarwinds offers free trials if you wish to evaluate the product first. The first steps include installing the software in your network and then adding your Virtual instances to the tool so that it can begin monitoring it. All of this can be found in our “Monitor Virtual Systems” article published on our site. Once you have followed through the linked article and you are ready to go, it’s time we get into it as well.
Managing Virtual Instances in VMAN
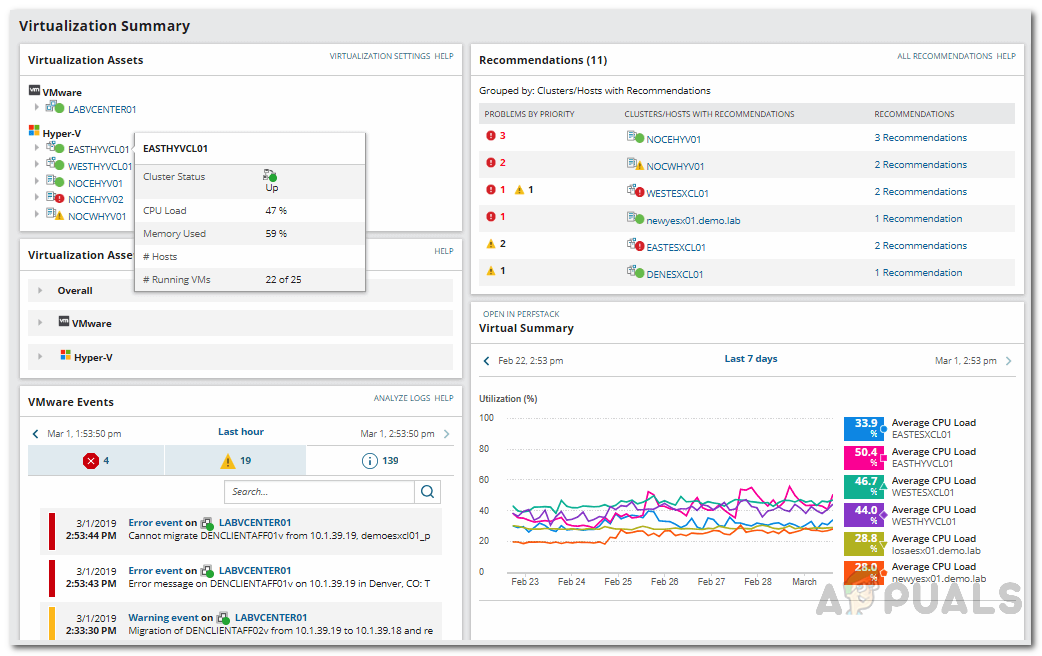
Managing your virtual instances in VMAN is easy thanks to the Orion Platform and the incredibly friendly user interface. On the Orion web console, VMAN comes with an extended list of tools that you can use to manage snapshots, manage VM status and a lot more. These tools can be accessed by selecting a host, database, cluster etc. in the Virtualization Assets environment tree found in the Summary page of the tool.
Managing Snapshots
Snapshots are like backups. It stores all the data, VM configurations and applications of an entire virtual machine. These snapshots can be used to back up the data of a virtual machine at any time. For every virtual machine, you can create individual snapshots as well as delete them when they are no longer required. Snapshots can be created and deleted via the Details page.
Creating a Snapshot
- Login to the Orion web console and then navigate to My Dashboard > Virtualization > Summary.
- In the Virtualization Assets tree, select a VM that you need to move and a VM that requires a new host.
- After that, in the Management resource area, click on the Take Snapshot of VM option. Upon clicking, you will be asked to create a custom name or use the default name.
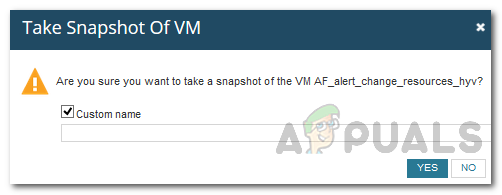
Creating Snapshot - Finally, a snapshot is created of the VM and saved.
Deleting a Snapshot
- If you wish to delete a snapshot, once again make your way to My Dashboard > Virtualization > Summary.
- After that, once again select a VM that you need to move and follow it up by selecting a VM that needs a new host.
- Then, in the Management resource area, contrary to the above instruction, click on Delete Snapshots.
- A dialog box appears with a list of snapshots to delete. If you wish to delete a parent snapshot, you can also choose to delete the children snapshots as well by clicking the option provided. Otherwise, just click Delete.
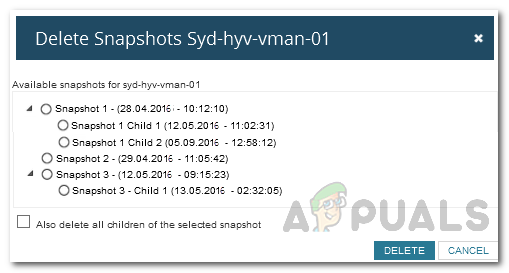
Deleting Snapshot
Changing CPU or Memory Resources
VMAN enables you to manage the CPU or memory resources of a virtual system. For each individual system, you can alter the CPU or memory allocated to the system per your requirements. This way, you can add maximum CPU resources and memory utilization to a specific important VM. Here’s how to manage hardware resources:
- Go to My Dashboards > Virtualization > Summary.
- In the Virtualization Assets list, select a VM and then a host.
- After that, click the Change CPU/Memory Resources option in the Management area.
- Modify the number of processors to add or remove virtual CPUs.
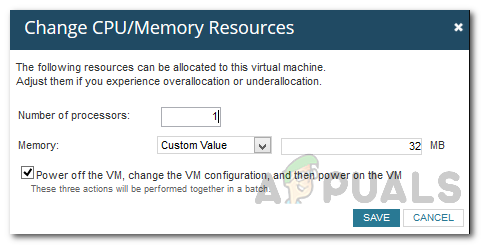
Adjusting CPU/Memory Resources - If you wish to add or remove virtual memory, go ahead and change the memory value.
- You can also tick the provided option to optionally perform the additional steps.
- After that, click the Save button.
Moving a VM to a Different Host
In some scenarios, you may have to move a virtual machine to a different host. This can be due to a number of reasons including resource consumption or performance. VMAN allows you to move a VM to a different VM host server present in different locations. Here’s how to do it:
- Make your way to the Management area as shown in the above steps.
- Once there, click on the Move to a Different Host option.
- A dialog box appears enlisting a number of hosts that are available including the current host.
- Select a new host for the virtual machine and then click the Migrate button.
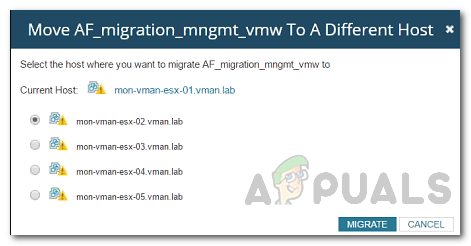
Moving to a Different Host - This will move the virtual machine to the new specified host and thus resources will be freed on the previous host.
Moving a VM to a Different Storage
As it turns out, there are cases where you will have to move a virtual machine to a different storage due to storage space issues on the current one. This can also be done on the Virtualization Manager tool. Here’s how to do it:
- Head to the Virtualization Summary via My Dashboards > Virtualization > Summary.
- In the Virtualization Assets tree, select a VM that needs to be moved to a different storage.
- Click on the Move to a Different Storage option in the Manager tools area.
- A dialog box appears that shows a list of available storage servers including the current one.
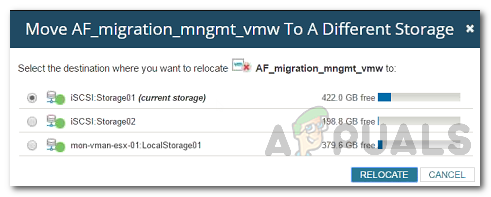
Moving to a Different Storage Server - Select a new Storage where you would like to move the storage and click the Relocate button.