 Reviewed by
 In today’s world, everyone wants their photos to look perfect, especially with the popularity of social media platforms.
Sometimes, in the picture, something or someone you didn’t want might be ruining the perfect photo you captured. Although iPhones are great for taking pictures, surprisingly, they don’t have a built-in tool for removing these unwanted items from your photos.
No need to worry, though! We’re here to help you learn how to remove these unwanted objects from your photos using your iPhone. We’ll talk about using Google Photo’s unique tool and other apps that can help. Keep reading to learn how to make your pictures look even better!
Table of Contents
- Understanding the Object Eraser tool in iPhone’s Markup
- How to access and use the Object Eraser?
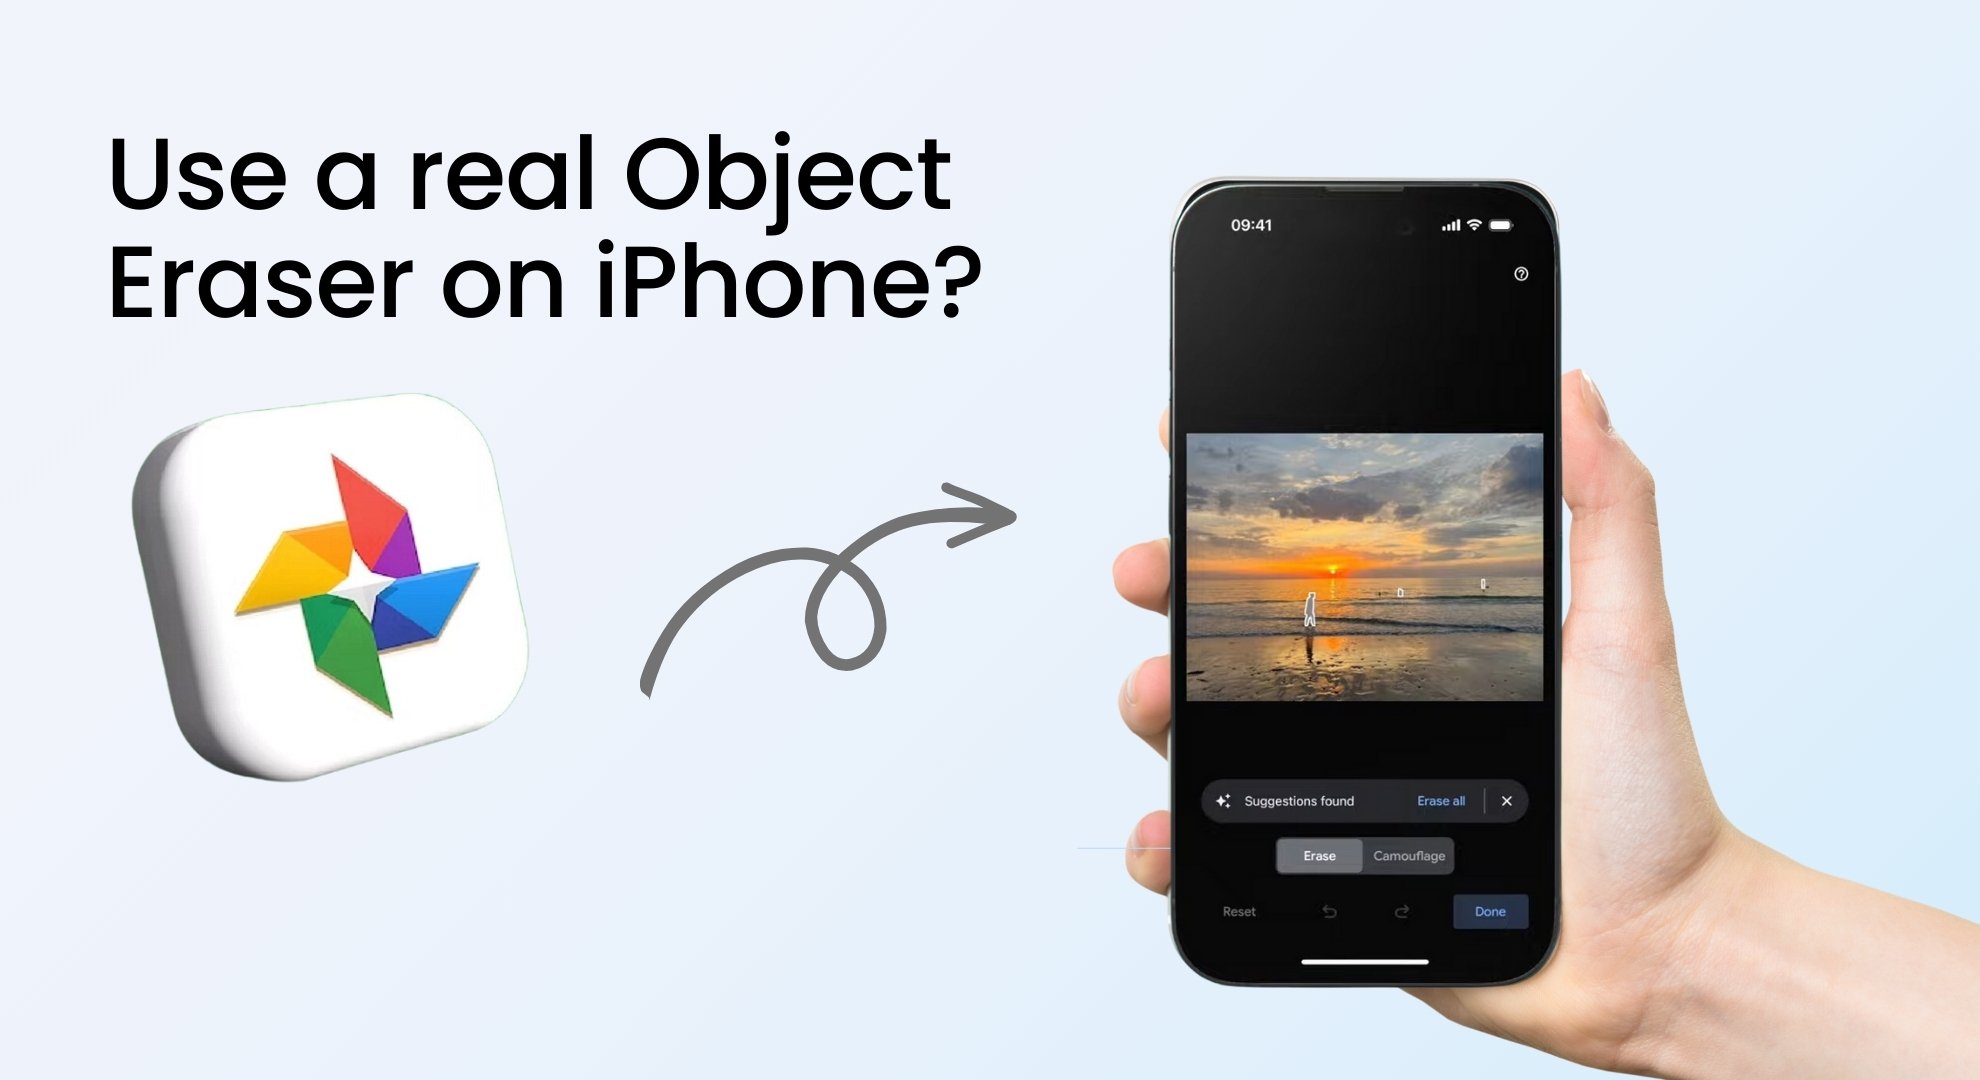
- How to access and use a real Object Eraser on an iPhone?
- How to use Magic Eraser on Google Photos on iPhone?
- Third-party object removal apps to try on iPhone
- Tips to make the best use of any object eraser
- Final Thoughts
Understanding the Object Eraser tool in iPhone’s Markup
Have you ever used the Markup tool on your iPhone? You’ll notice it has two different erasers: Pixel Eraser and Object Eraser. These erasers aren’t like those in other editing apps and tools, including Pixel’s Magic Eraser.
Each Eraser in the Markup tool does something different to help make editing easy for you. The Object Eraser is there to help you eliminate things like notes, lines, shapes, or small drawings you added to a picture while using the Markup tool.
It makes erasing easy – instead of moving your finger all over the screen to remove a line or shape, you have to slide once with the Object Eraser, and the whole object disappears. Hence the name “object” eraser.
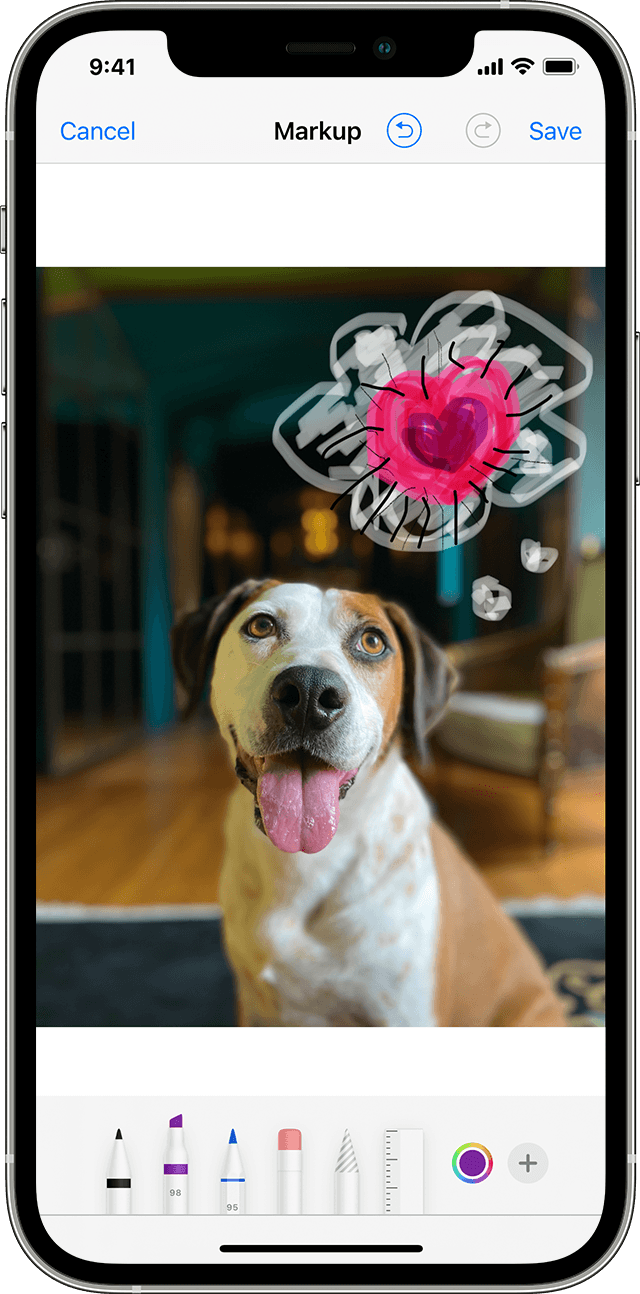
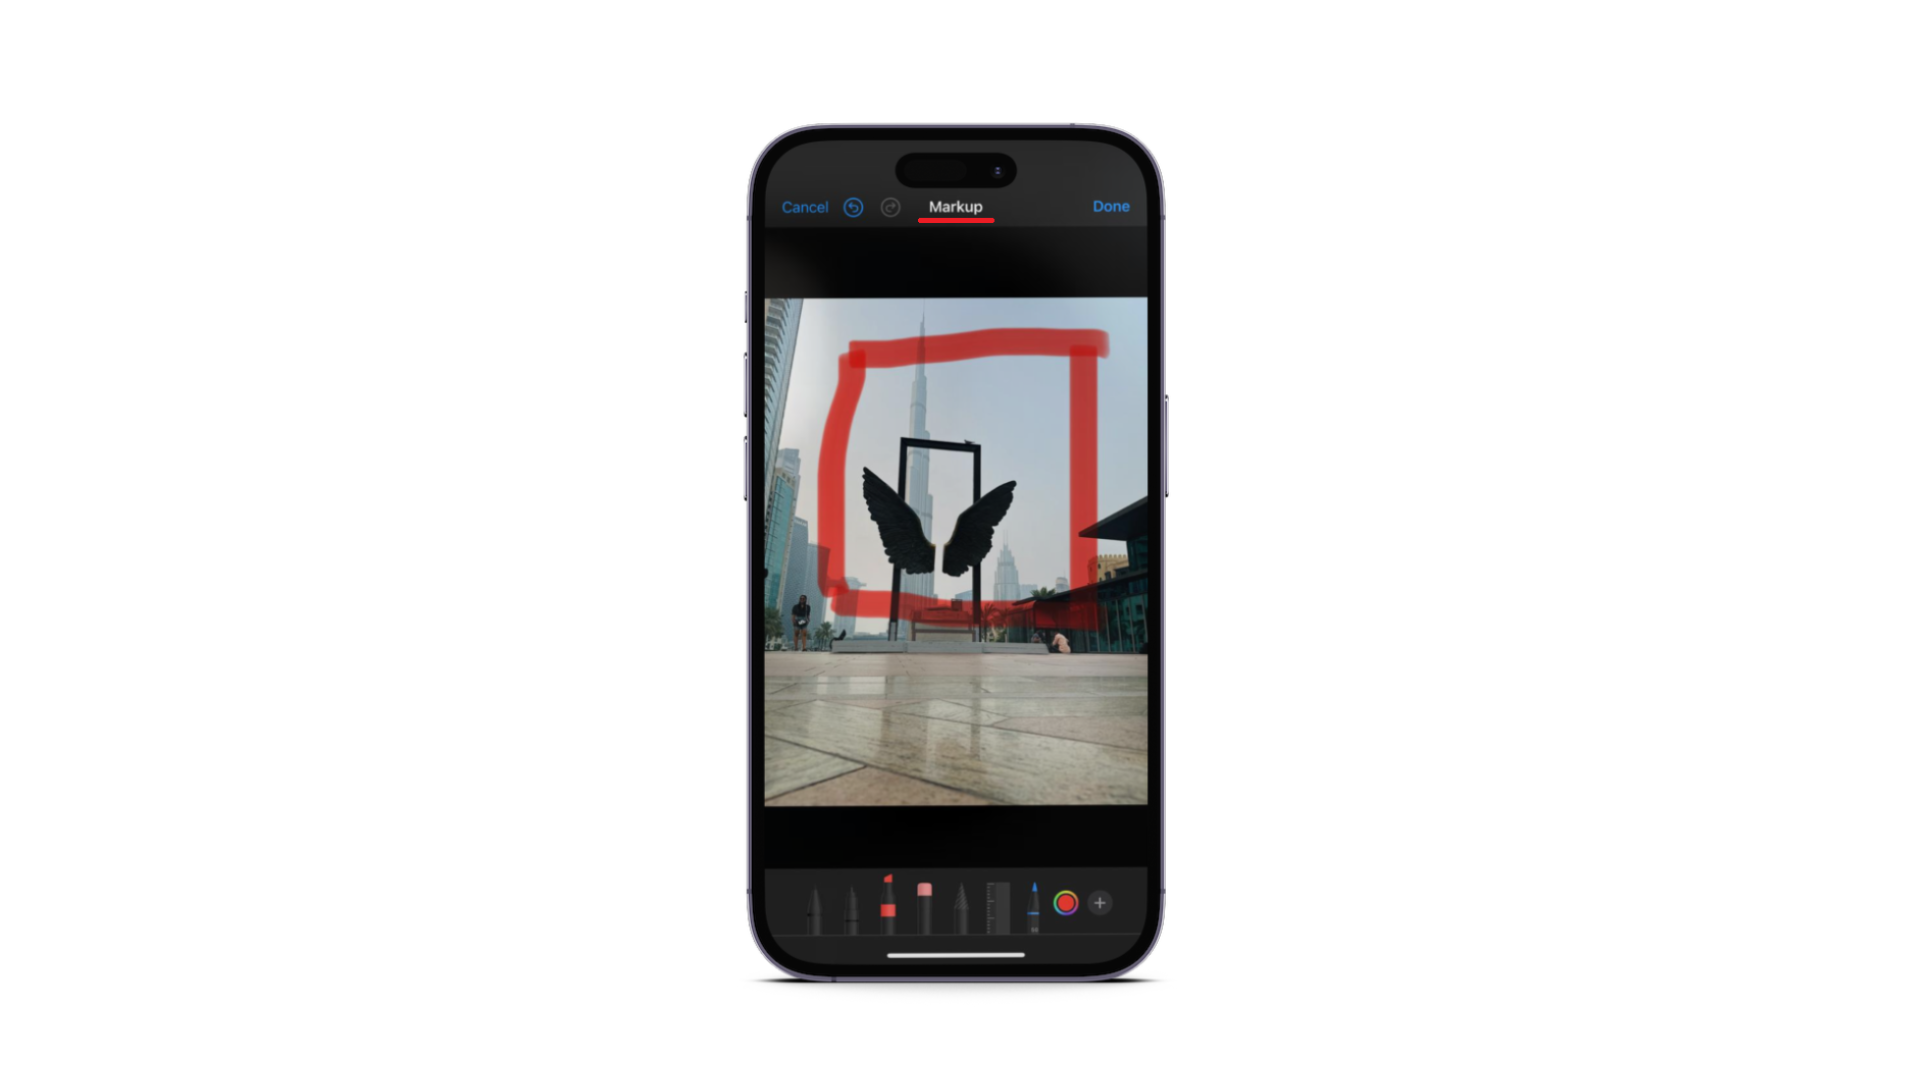
For example, if you drew a wavy line on your picture while editing and want to remove it, tap it once with the Object Eraser.
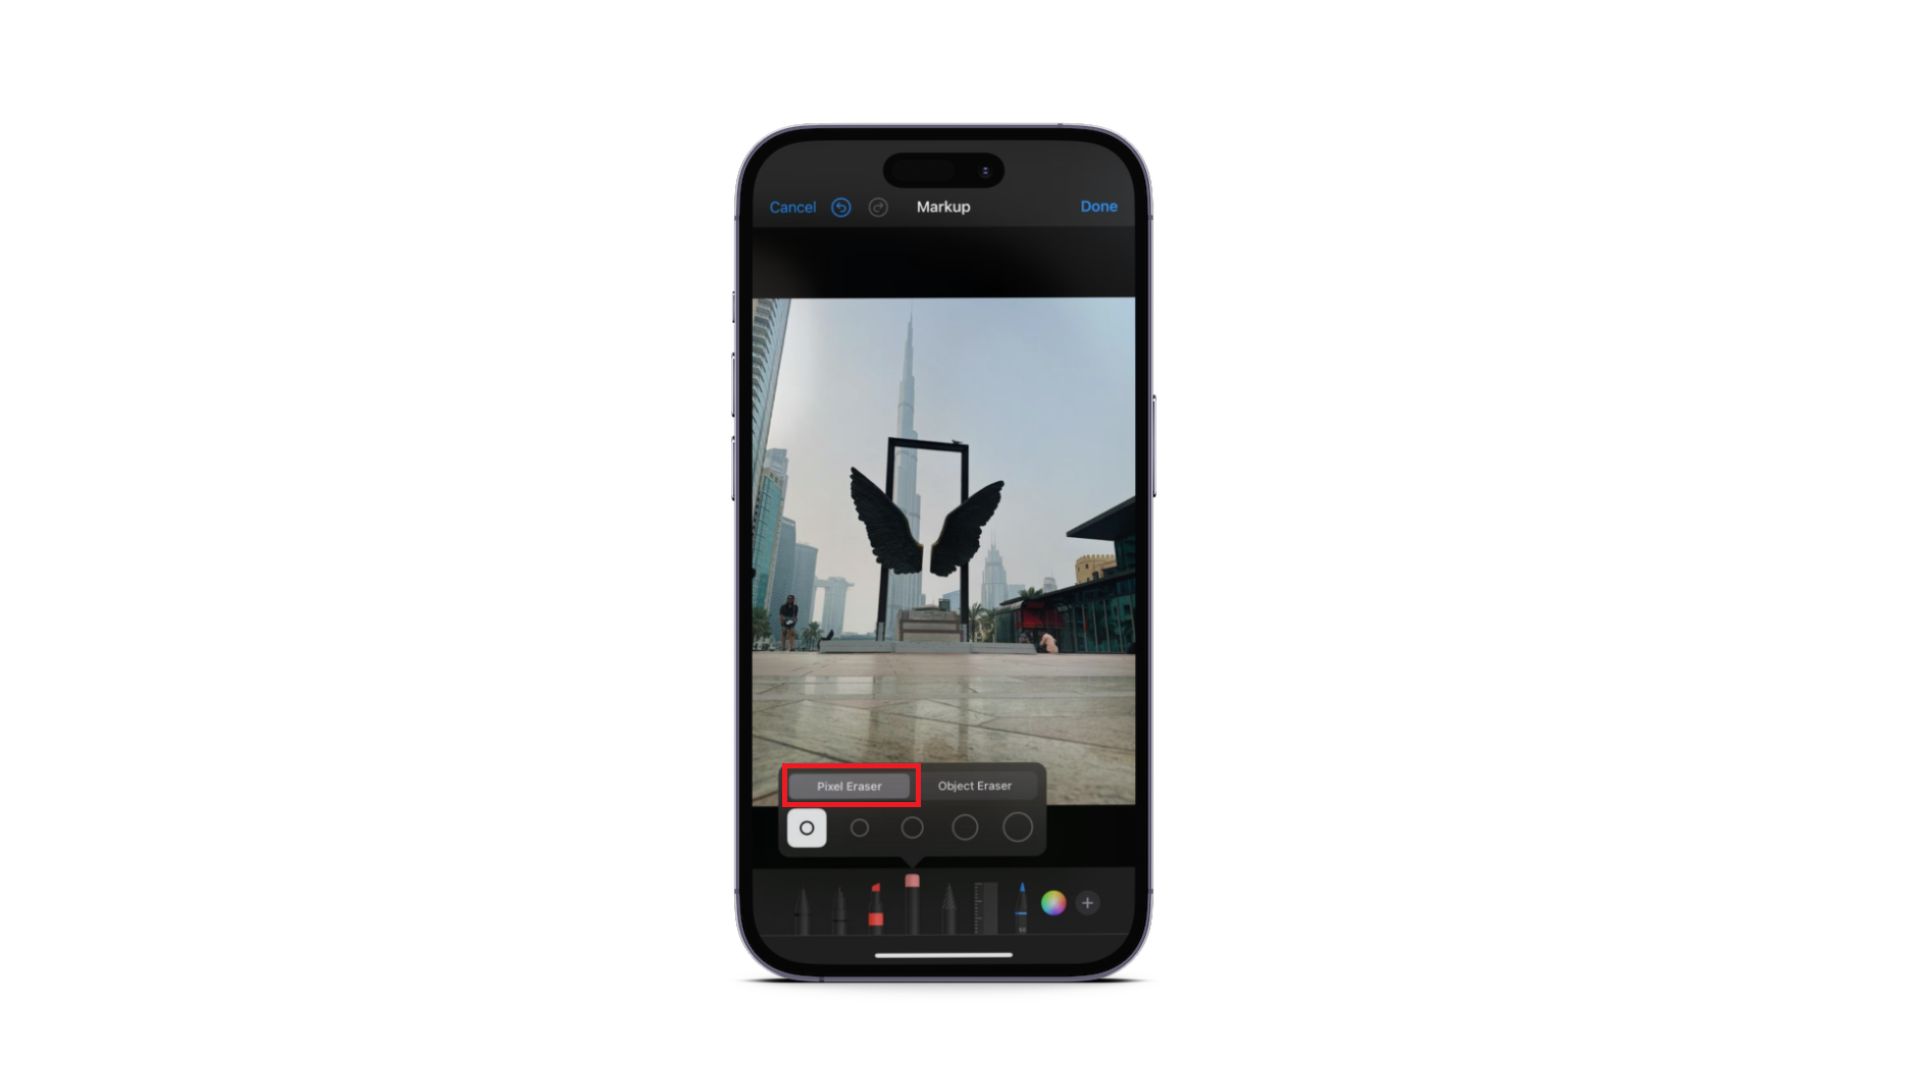
The Pixel Eraser is a bit different. It works more like the erasers we’re used to, but it’s only for Markup. It won’t remove a whole drawing or note with one tap; you must move it over the parts you want to erase a bit at a time. It will only erase parts of a line (that you slide over) instead of removing it as a whole once.
It’s precise and meant for fine edits which requires pixel-level precision, hence the name “pixel” eraser.
Read More: The Best Free Photo-Editing Apps for Android
How to access and use the Object Eraser?
Here’s how you can access and use the Object Eraser tool in iPhone’s Markup:
- Open the photo you wish to edit in your Photos app.
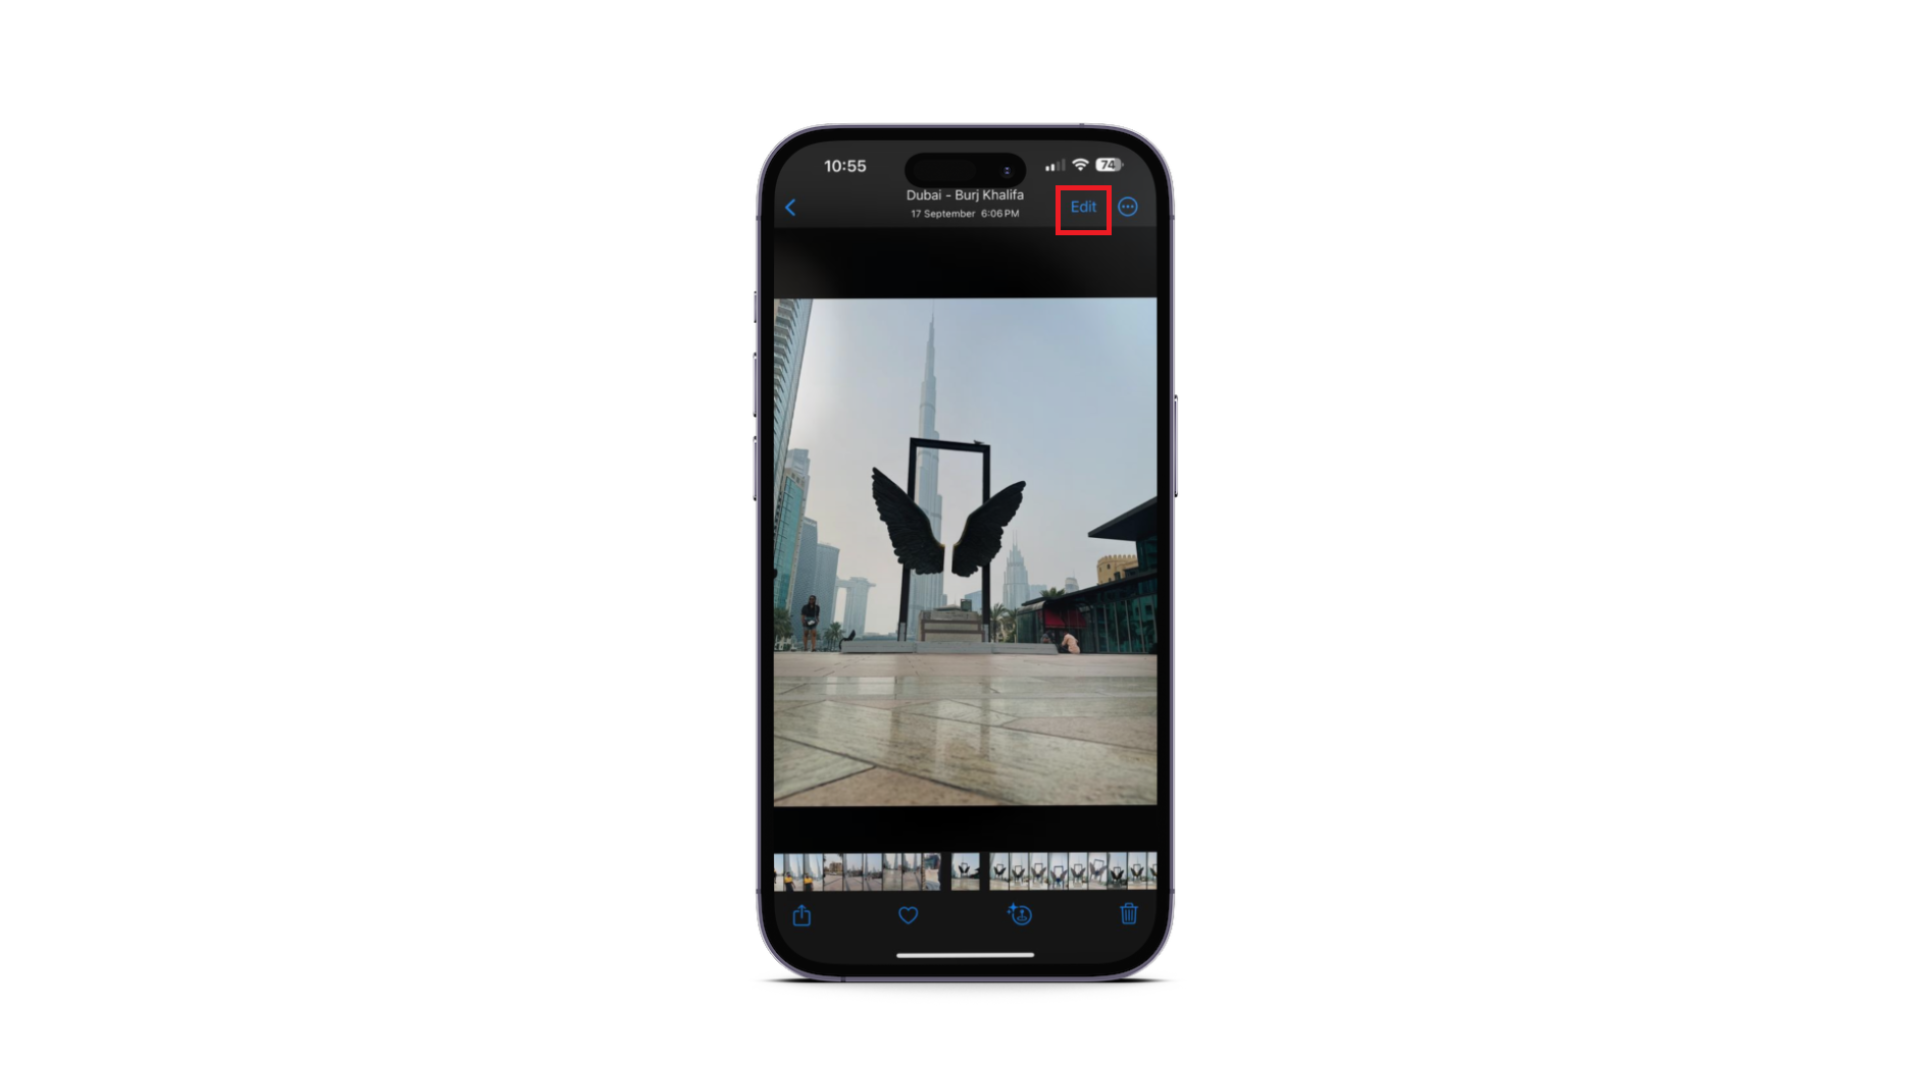
Open the photo - Tap Edit, then tap the Markup button, which looks like a pen, usually at the top or bottom of your screen. You can add annotations, lines, circles, or other shapes here.
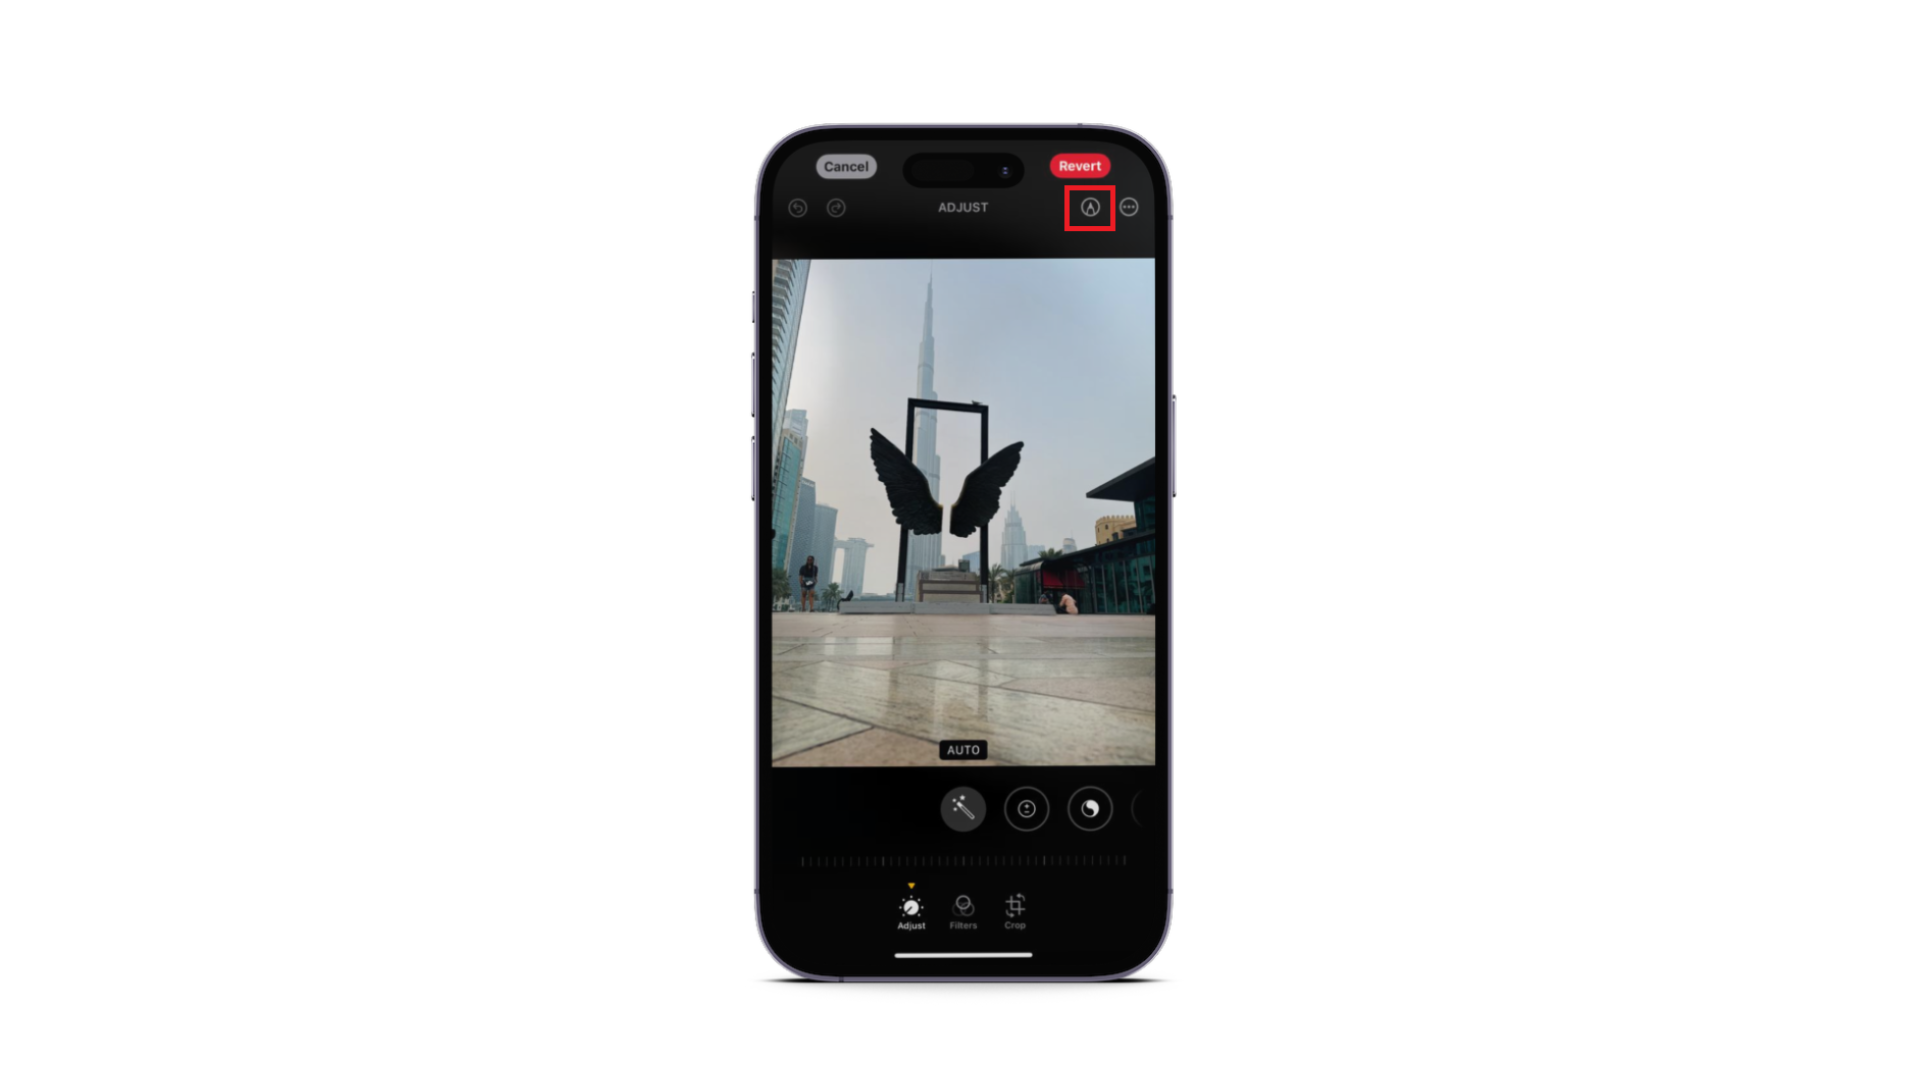
Tap Edit, then tap the Markup button - If you want to remove a line you just added, tap on the eraser tool (it is the pencil with Eraser on its head).
Draw a line - From the options that appear, select “Object Eraser.”
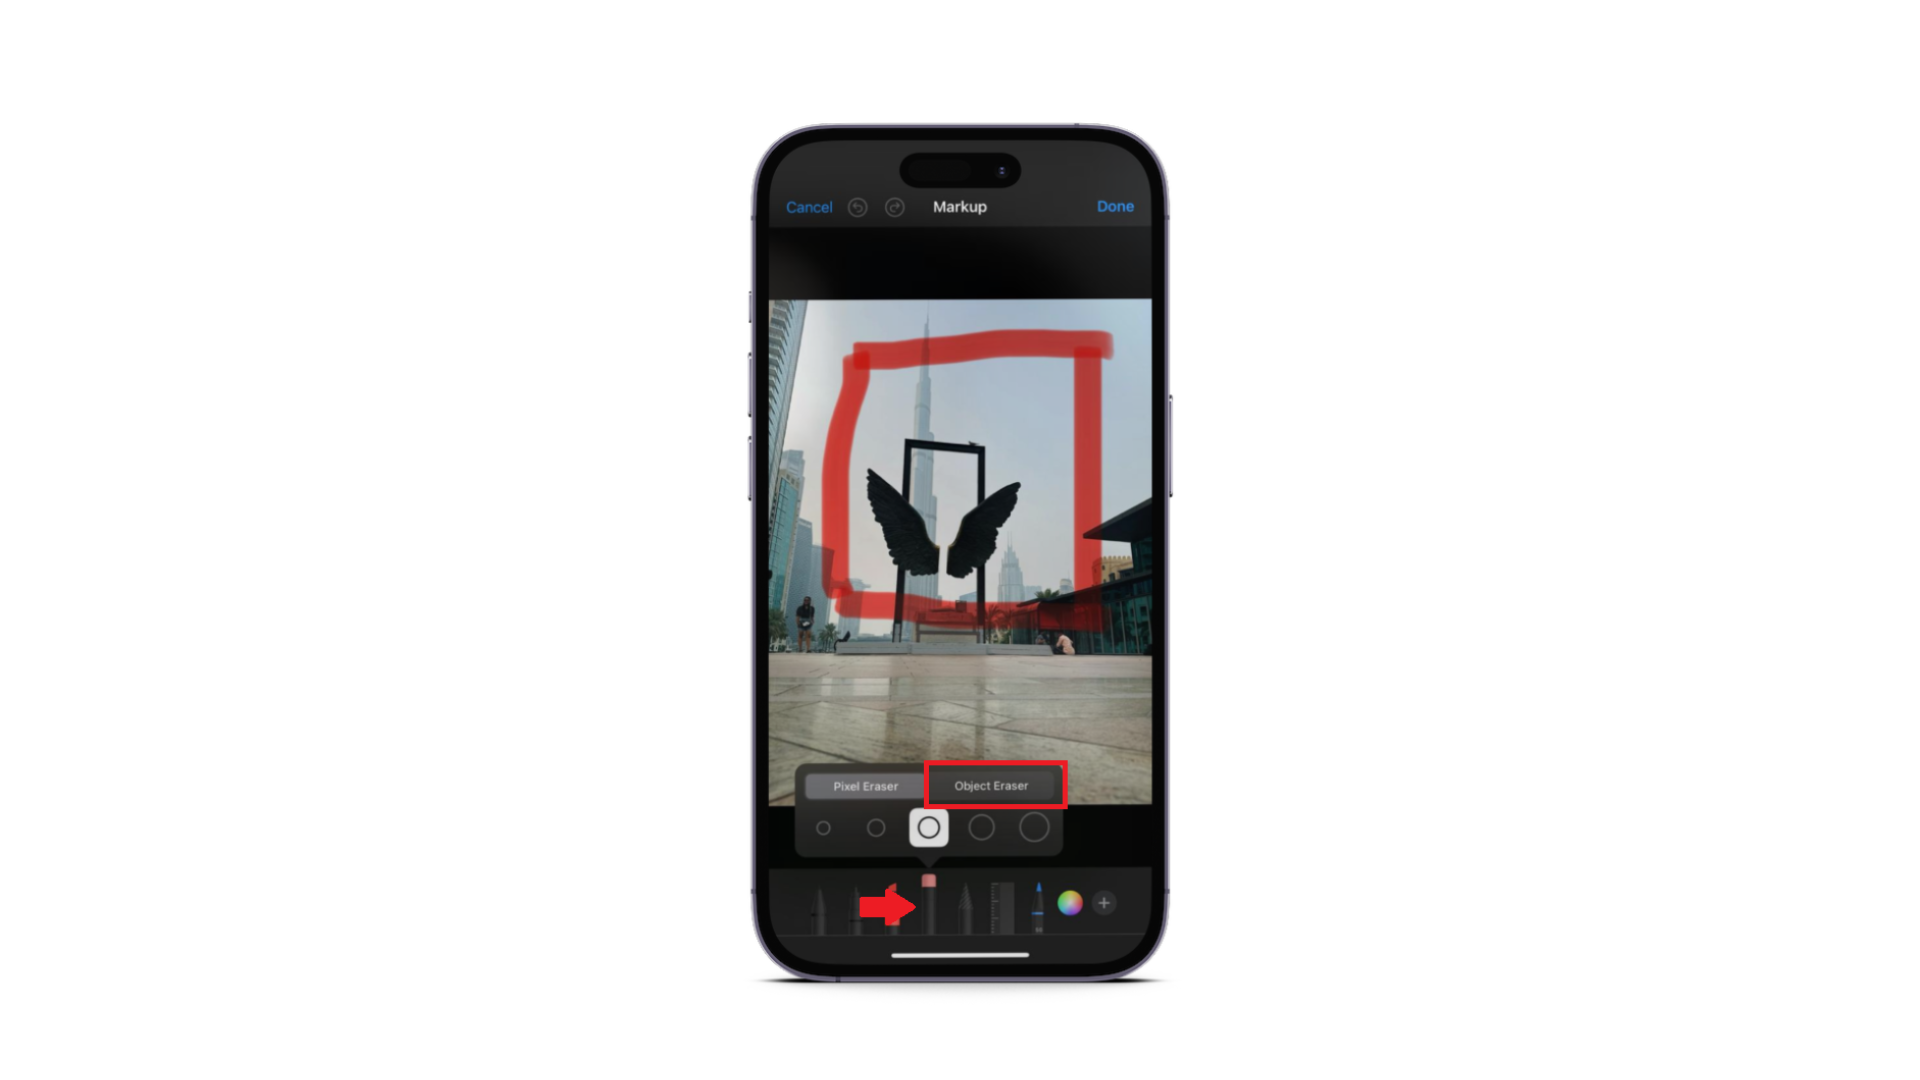
Select “Object Eraser” - With the Object Eraser activated, tap on any line, shape, or annotation you’ve added to the image. It will be removed instantly with just that single tap.
Line will be erased in one go
Remember that the Object Eraser only removes things you added with the Markup tool. It won’t change the original parts of your picture.
How to access and use a real Object Eraser on an iPhone?
As powerful and intuitive as iPhones are, they don’t have a built-in tool to remove unwanted objects or backgrounds from your pictures. But don’t let this get you down. There are plenty of other apps out there that can help you do just that.
An excellent tool for this job is the magic eraser in Google Photos, called “Magic Eraser.” This tool lets you easily remove objects you don’t want in your photos, like photo-bombers or unwanted background stuff.
How to use Magic Eraser on Google Photos on iPhone?
If you want to use Google’s Magic Eraser on your iPhone, here’s a step-by-step guide on how to do it:
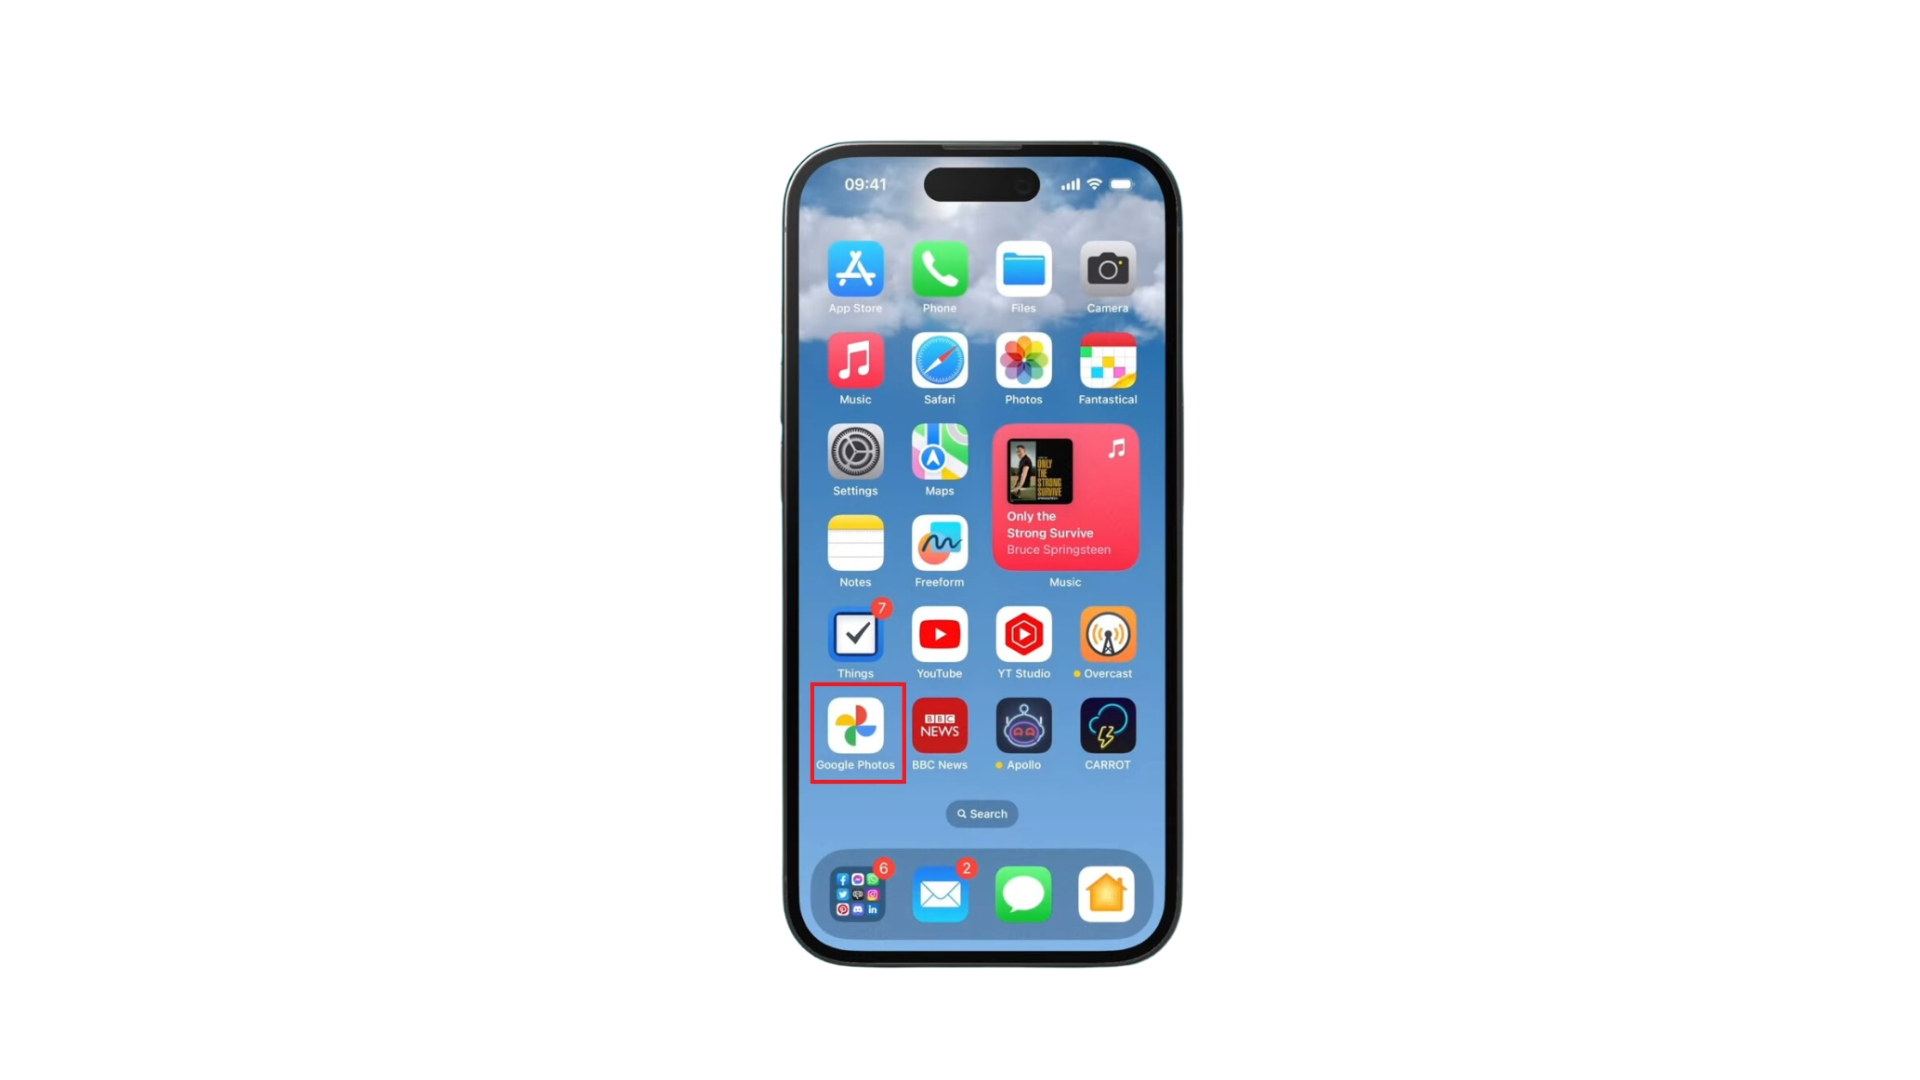
- Open “Google Photos.” Make sure your internet is on.
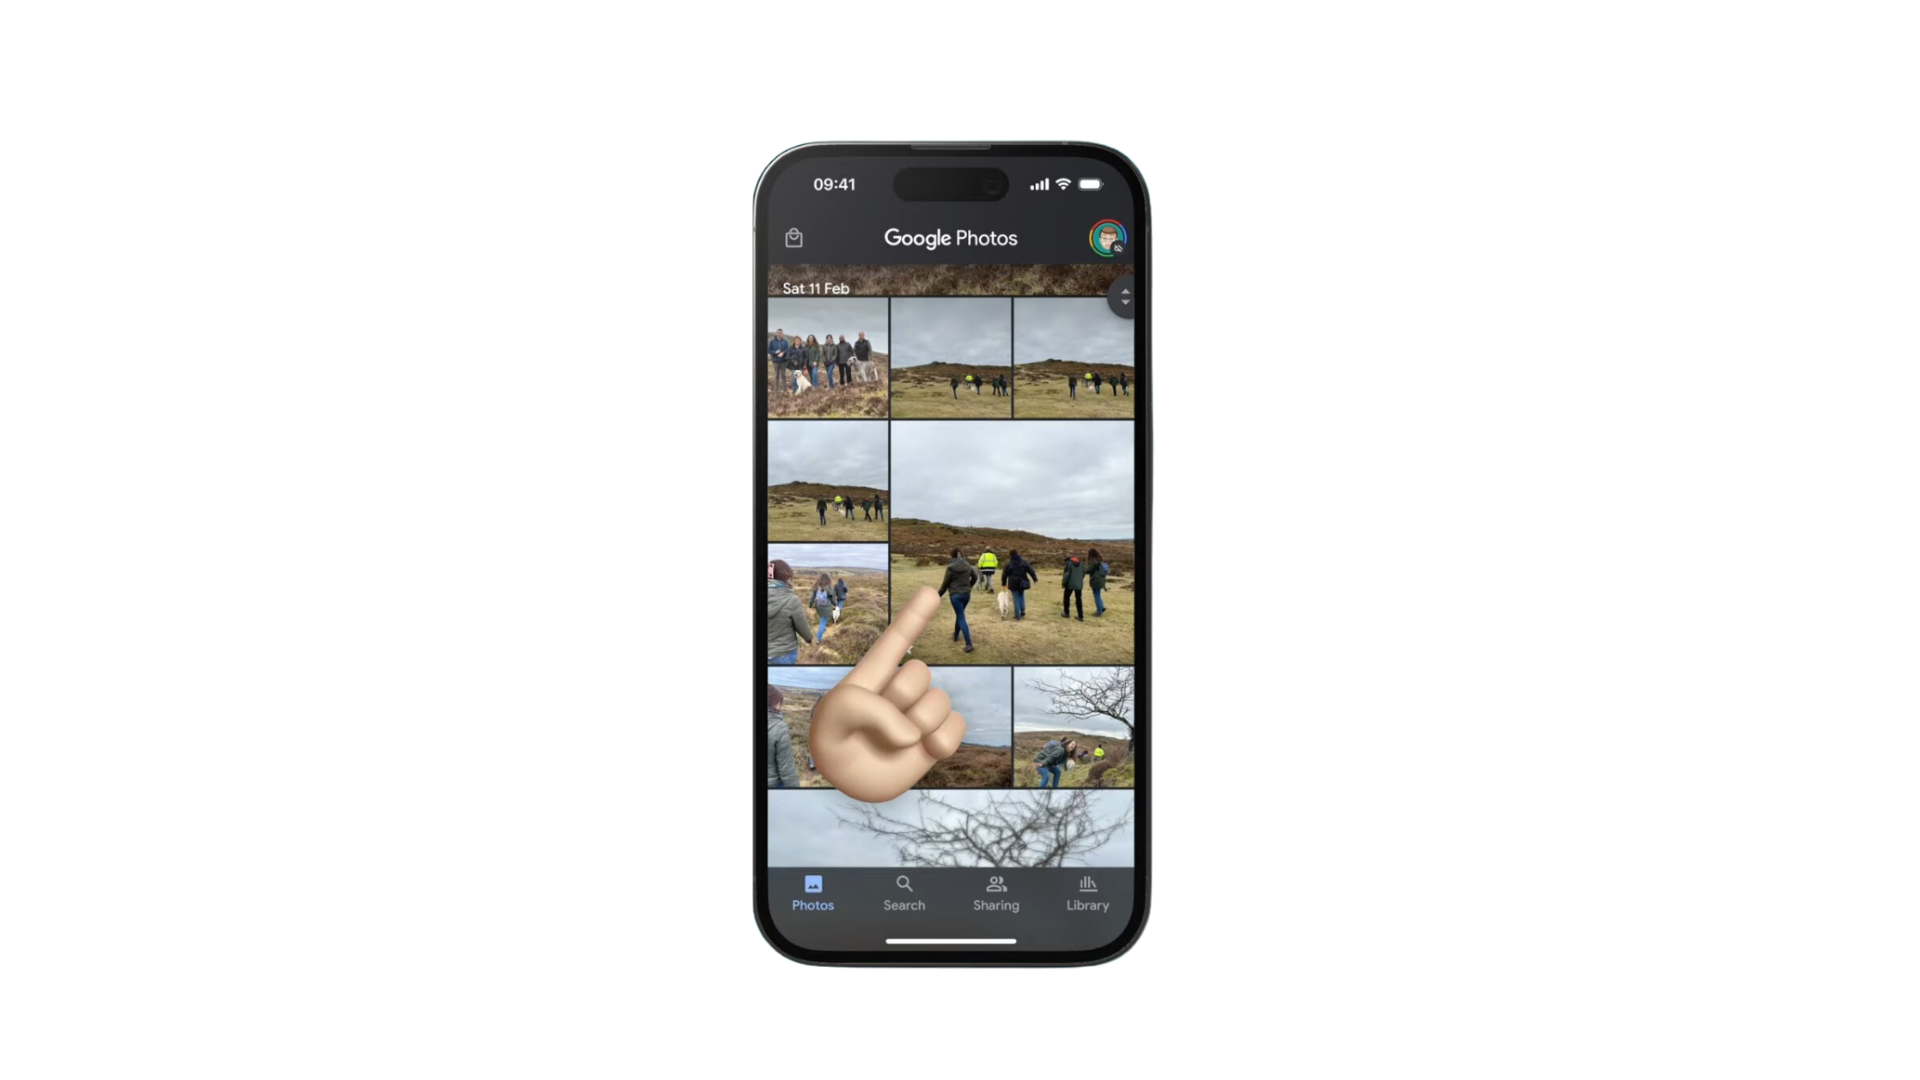
Open “Google Photos” - Find and open the photo you want to edit with Magic Eraser.
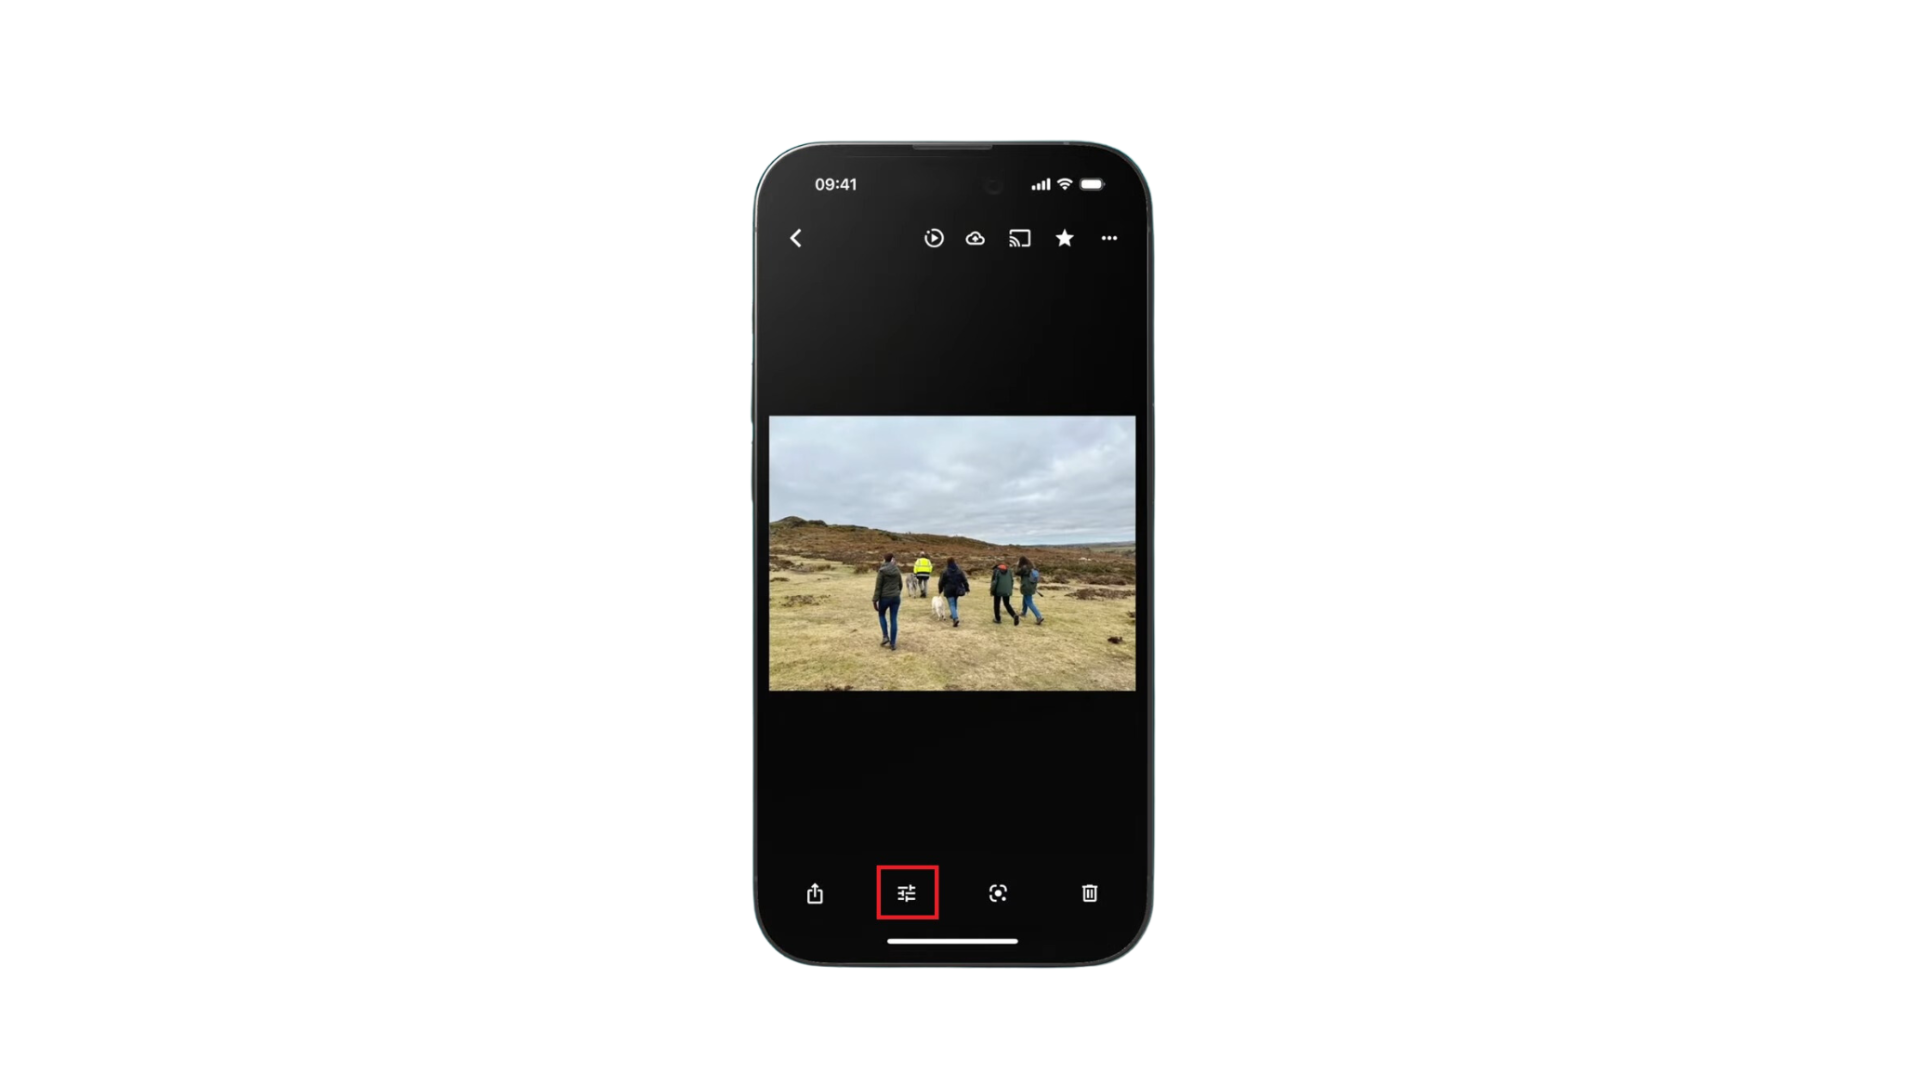
Open the image - Tap the “Edit” icon.
Tap “Edit: - In the “Tools” menu, find and tap on “Magic Eraser.”
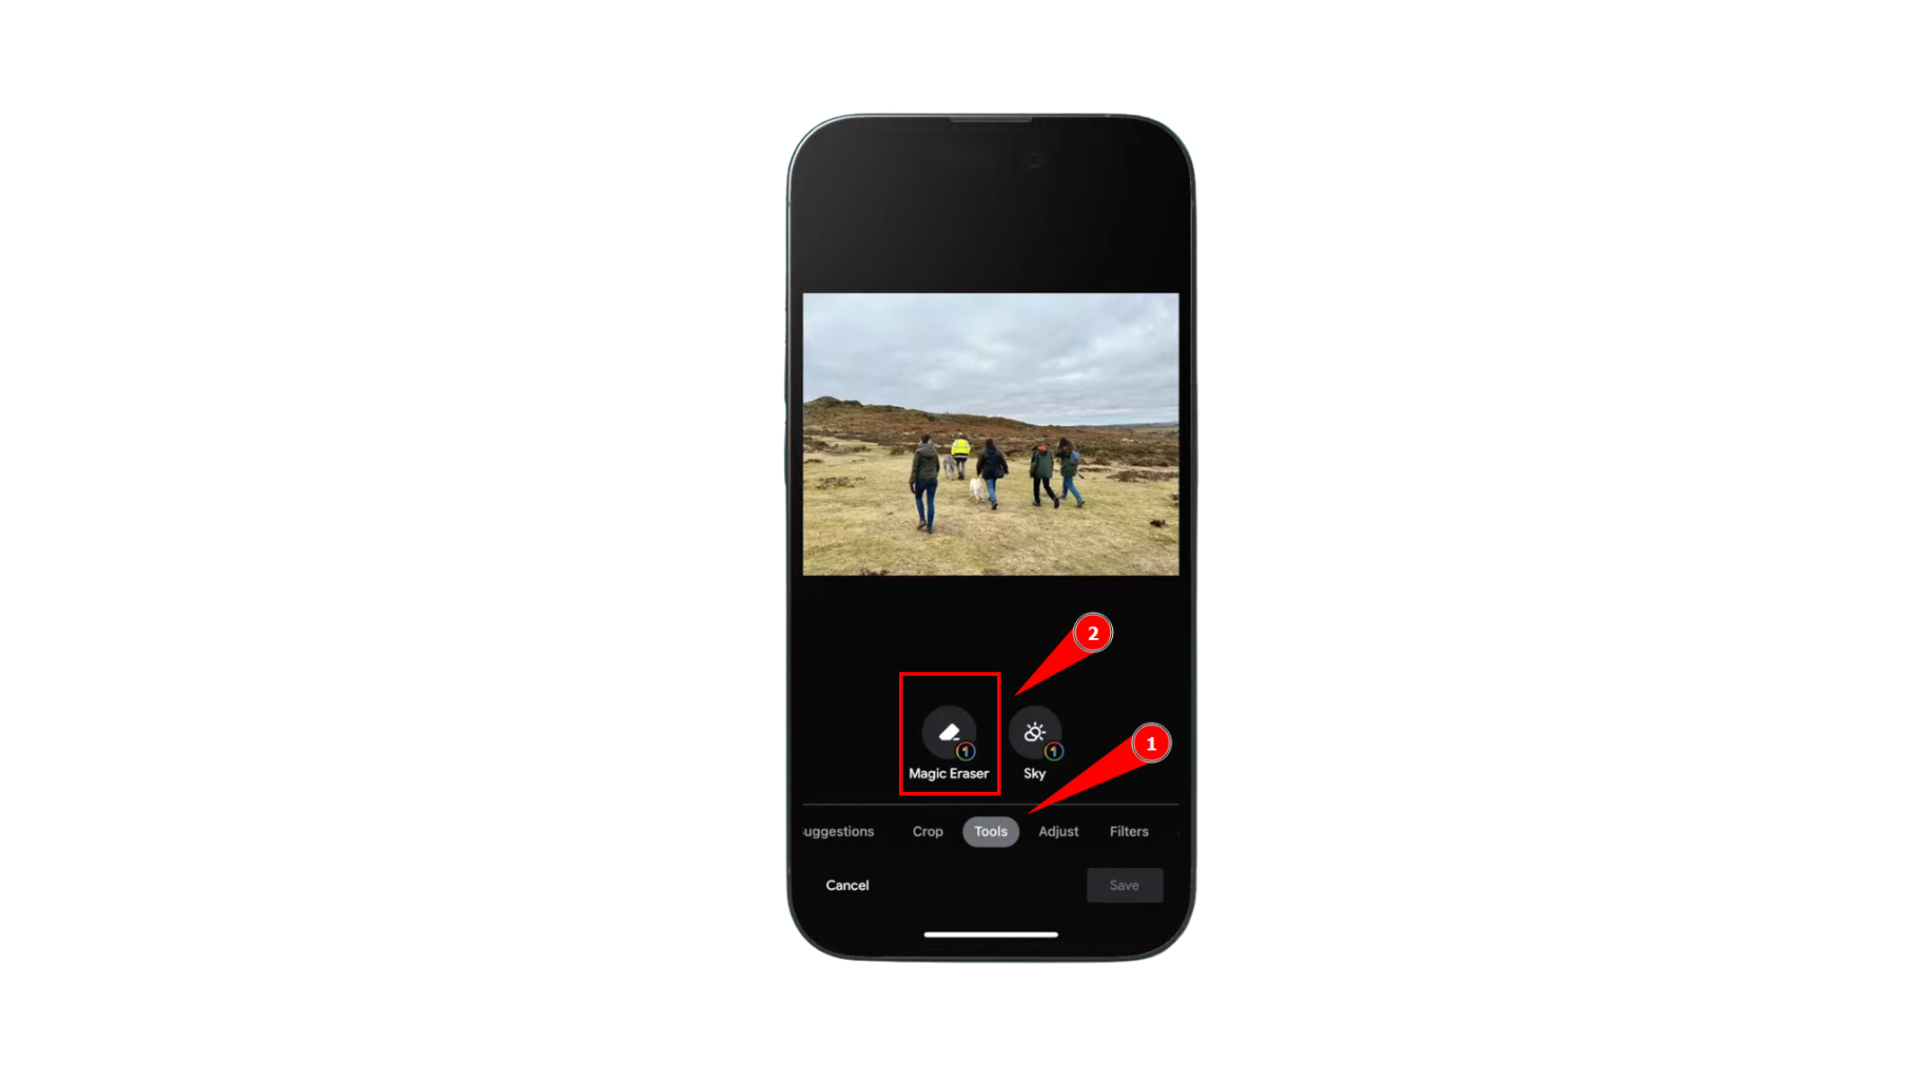
Tap “Magic eraser” - The app will take a moment to look at the picture. Then, it’ll show you the objects you can get rid of. Tap on “Erase All.”
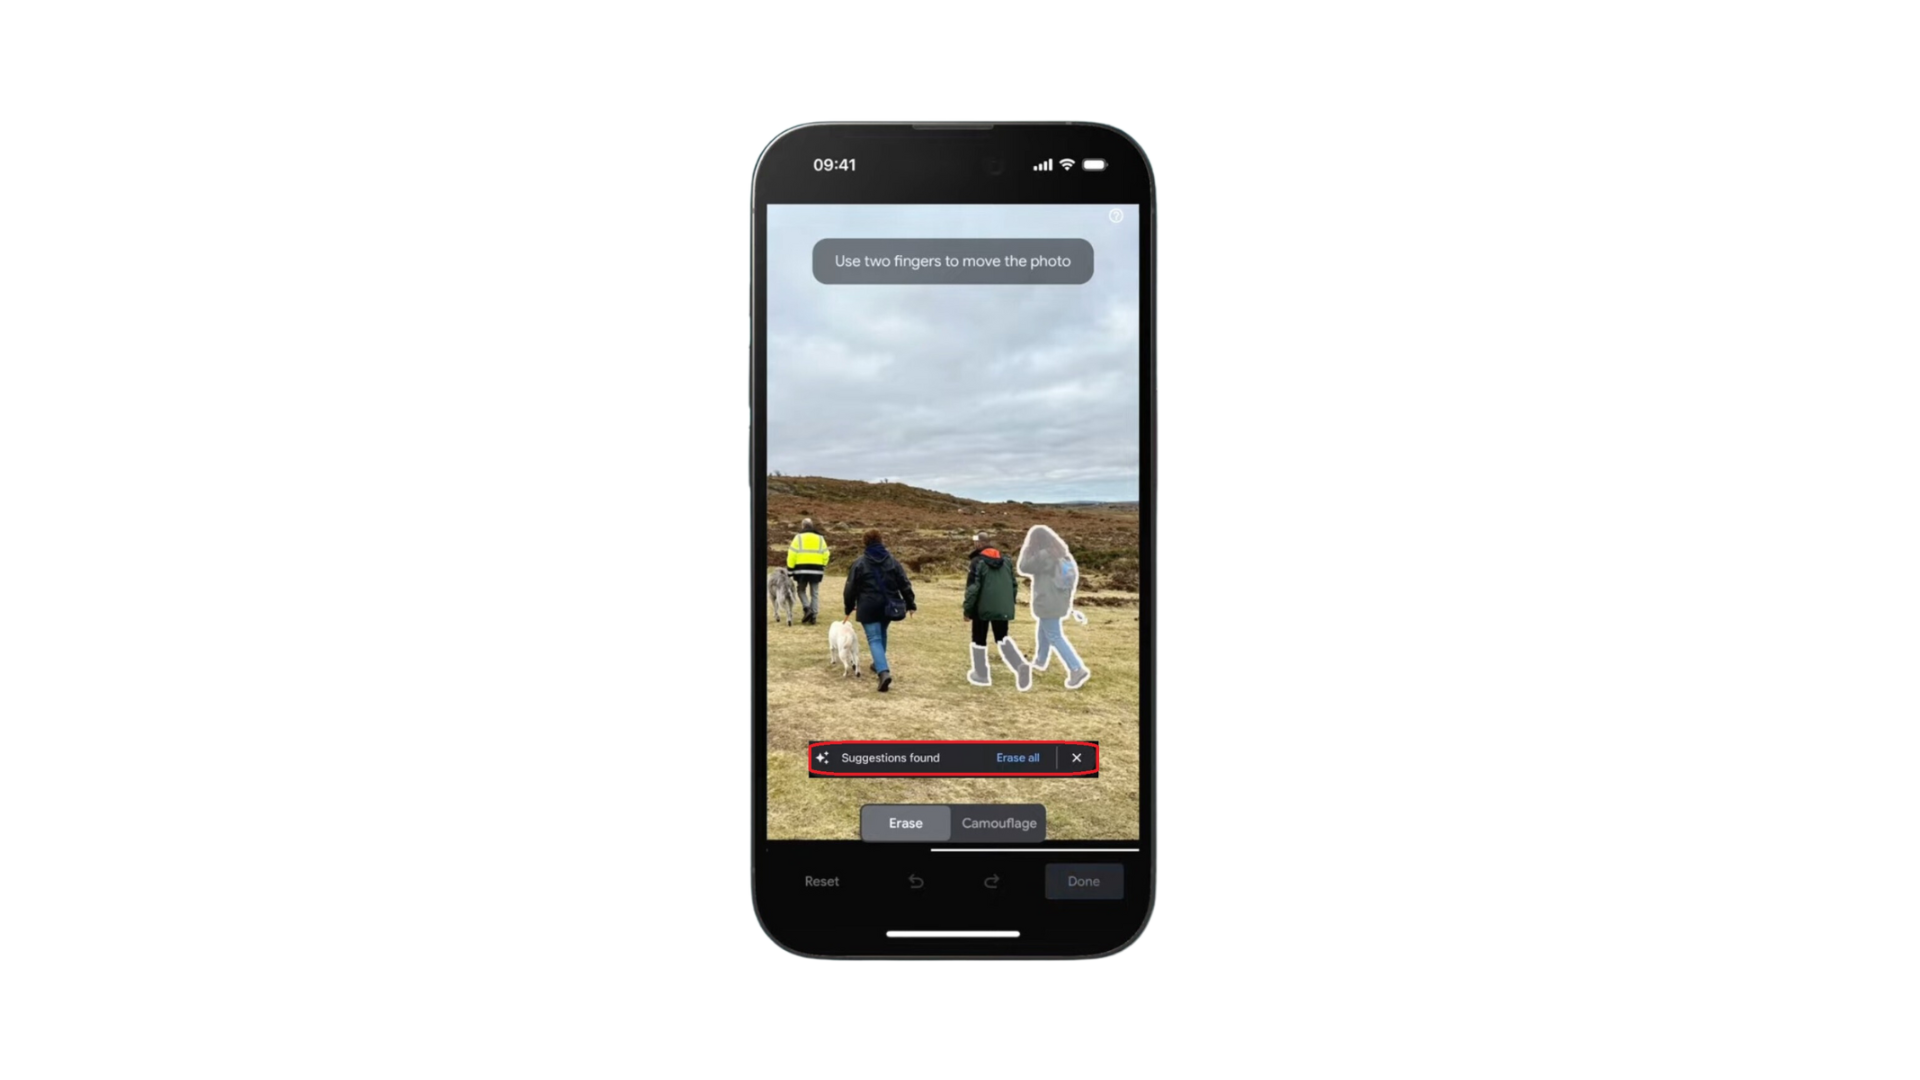
Tap on “Erase All” - Once you have completed the editing, tap “Done.” You can save the changes you made as a new copy of the photo.

Tap “Done.”
If you aren’t happy with the suggestions, you can cancel and manually select the objects. You can zoom in for a closer look and move around the picture with two fingers.
Third-party object removal apps to try on iPhone
Several third–party apps can efficiently remove unwanted objects from your iPhone images. Below are some you might consider trying:
1. TouchRetouch

TouchRetouch stands out with more advanced tools for removing objects in photos than many apps. This app is crafted to help you smoothly remove objects from your photos, offering top-notch features and easy guides to help you use them all effectively.
Designed specifically for object removal, TouchRetouch has various tools to help you make quick edits with a single tap and offers flexible features for different needs.
2. YouCam Perfect
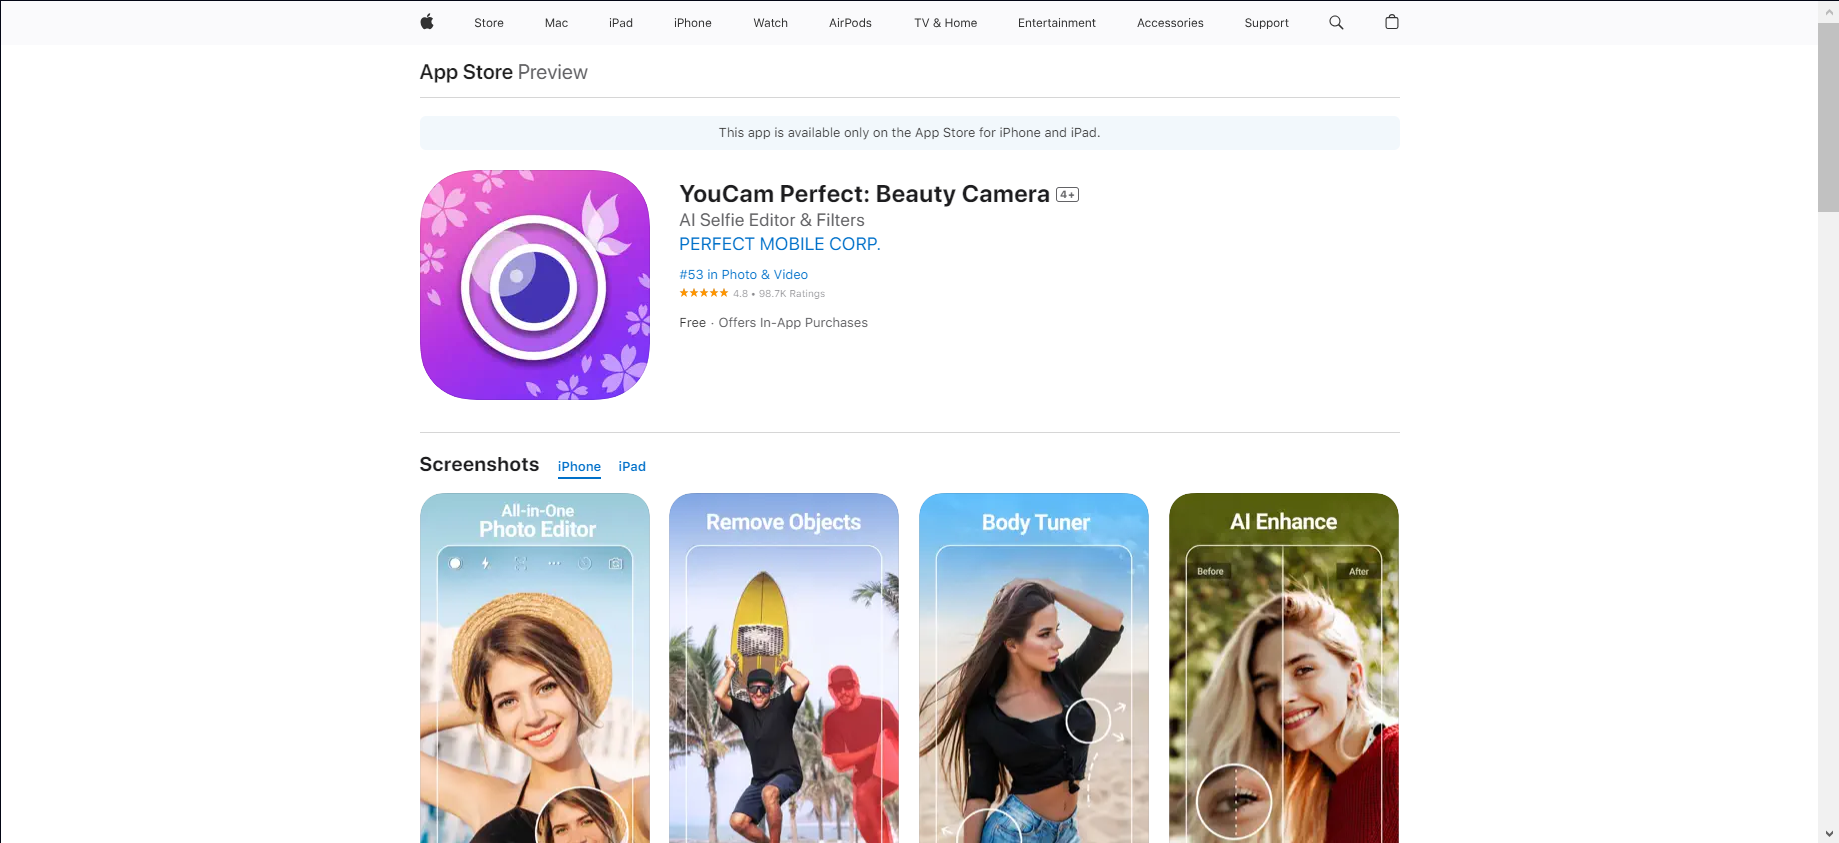
YouCam Perfect is a multipurpose app that helps remove unwanted items from your pictures and offers other editing tools, including features that smooth out skin and help with hiding.
Tips to make the best use of any object eraser
Check out these helpful tips for using the object eraser tool on iPhone to get the best results:
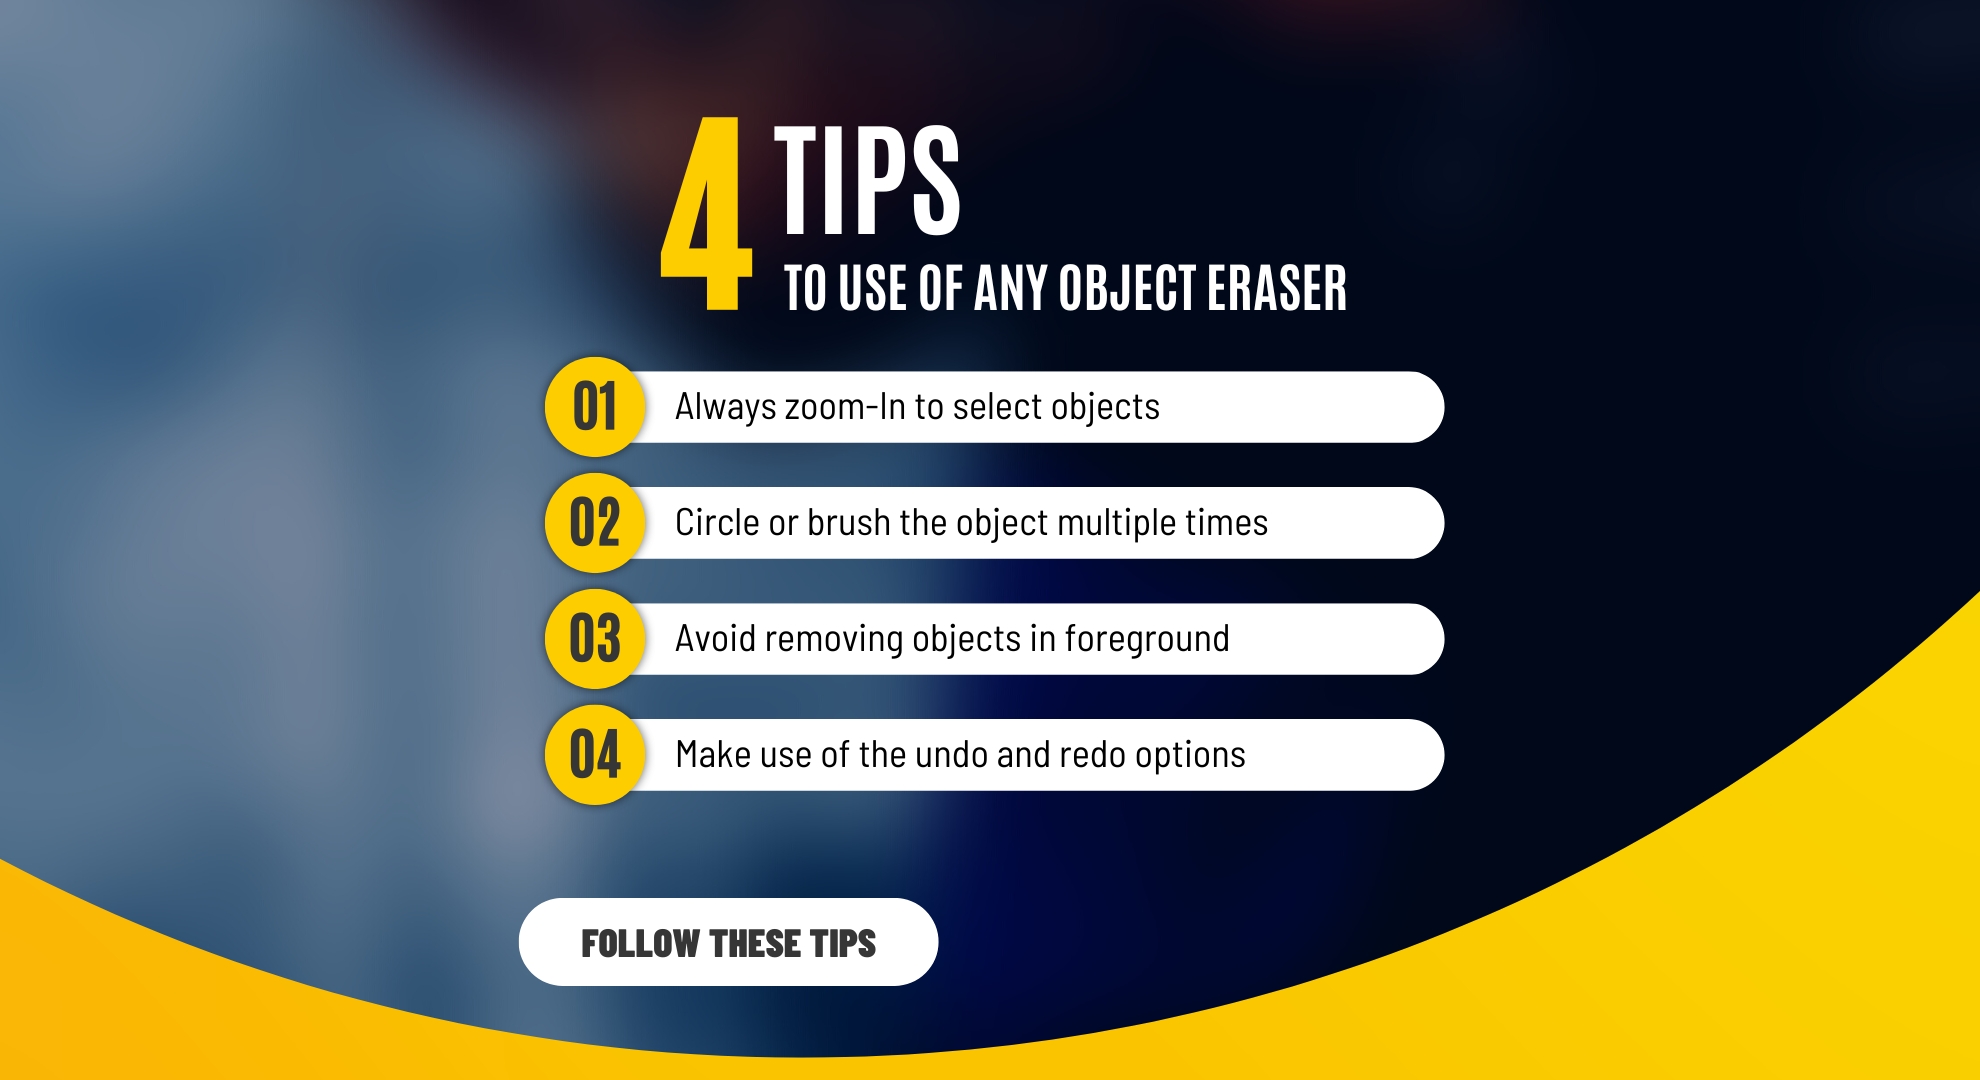
1. Always zoom-In to select objects
Zoom into the picture to pick out objects you wish to erase more accurately when using any object eraser. Zooming in helps you see better, and you can use two fingers to move around the zoomed image to select and remove more items effectively.
2. Circle or brush the object multiple times
After erasing an object, go over the same area several times to ensure all bits of the unwanted item are removed. Doing this helps you eliminate any leftover traces, ensuring a cleaner final image. Zooming in will also be handy for this step.
3. Avoid removing objects in the foreground
These tools do best work on items in the background or not the main focus of your picture. If you try to remove something in the foreground or something attached to your photo’s main subject, the final result might not look good.
4. Make use of the undo and redo options
Did you erase something you didn’t mean to? No need to start over! Just use the undo and redo functions. These options let you step back and fix mistakes without having to do everything again, making the editing process smoother and easier.
Final Thoughts
iPhones don’t have a built-in tool for removing objects from photos, but don’t worry! You can use Google Photo’s Magic Eraser or apps like TouchRetouch and YouCam Perfect.
You can use these to quickly and effectively edit out irrelevant subjects or mistakes from your photos. For the best results, zoom in and carefully pick the items you want to remove.
It helps if you go over the area more than once. But be careful not to remove important parts of your main picture subject! And if you erase something by mistake, undo it or redo it to fix it.
With these easy tips, you’ll be a pro at using eraser tools on your iPhone, making all your photos look great!
FAQs
Apple provides an Object Eraser within the Photos app’s editing tools. This doesn’t function as normal object erasers. It can only be used in the Markup option and remove objects drawn within this tool.
No, the Markup Object Eraser is meant to delete drawings or notes you added using Markup. It won’t take away anything from the original picture itself.
Yes, you can use the Magic Eraser in Google Photos for free. But remember, if you back up your pictures to Google, the app might use some of your cloud storage.
You’ll find apps like “TouchRetouch” and “YouCam Perfect” on the App Store. These apps are made to help you remove objects and touch up your photos.
Most well-known photo-editing apps will keep your photo quality. But it’s smart to save an original just in case something goes wrong during editing.
Tools like the Magic Eraser can remove small and large items from photos. However, how well it works can depend on the object and the background. You might need more detailed editing to take out big or tricky objects.